

This guide is to configure push notifications with React Native and Firebase Cloud Messaging. We’ll be using the latest version of React Native (v0.60+) and implement the React Native Firebase Library by Invertase, RNFirebase (v5.5.5+).
I love the RNFirebase library 🙌, it makes integrating Firebase so easy. It’s maintained regularly, keeping up-to-date with React Native releases. It converts the Firebase Native SDKs for iOS and Android into a React Native friendly API. And, it covers most of the Firebase product suite – I’ve not come across a service yet that hasn’t been supported.
We’re going to start where we left off from my last post where we created a new React Native project.
First step to do is install RNFirebase v5.5.5+, the version I installed is v5.5.6.
npm install react-native-firebase --save
Android 🤖
In your root build.gradle, add the following:
In your app build.gradle, add the following:
In your MainApplication, add the following packages RNFirebaseMessagingPackage and RNFirebaseNotificationsPackage:
And, in your Android Manifest
For production, if you are using ProGuard (which I would advise), don’t forget to add to your Proguard rules
iOS 🍎
Add pod 'Firebase/Messaging', '~> 6.4.0' to your Podfile. No need to add Firebase/Core (it’s autolinked).
Edit your AppDelegate.m and add the following:
Firebase Project 🔥
You can skip this step if you already have a Firebase project with apps for iOS and Android already configured.
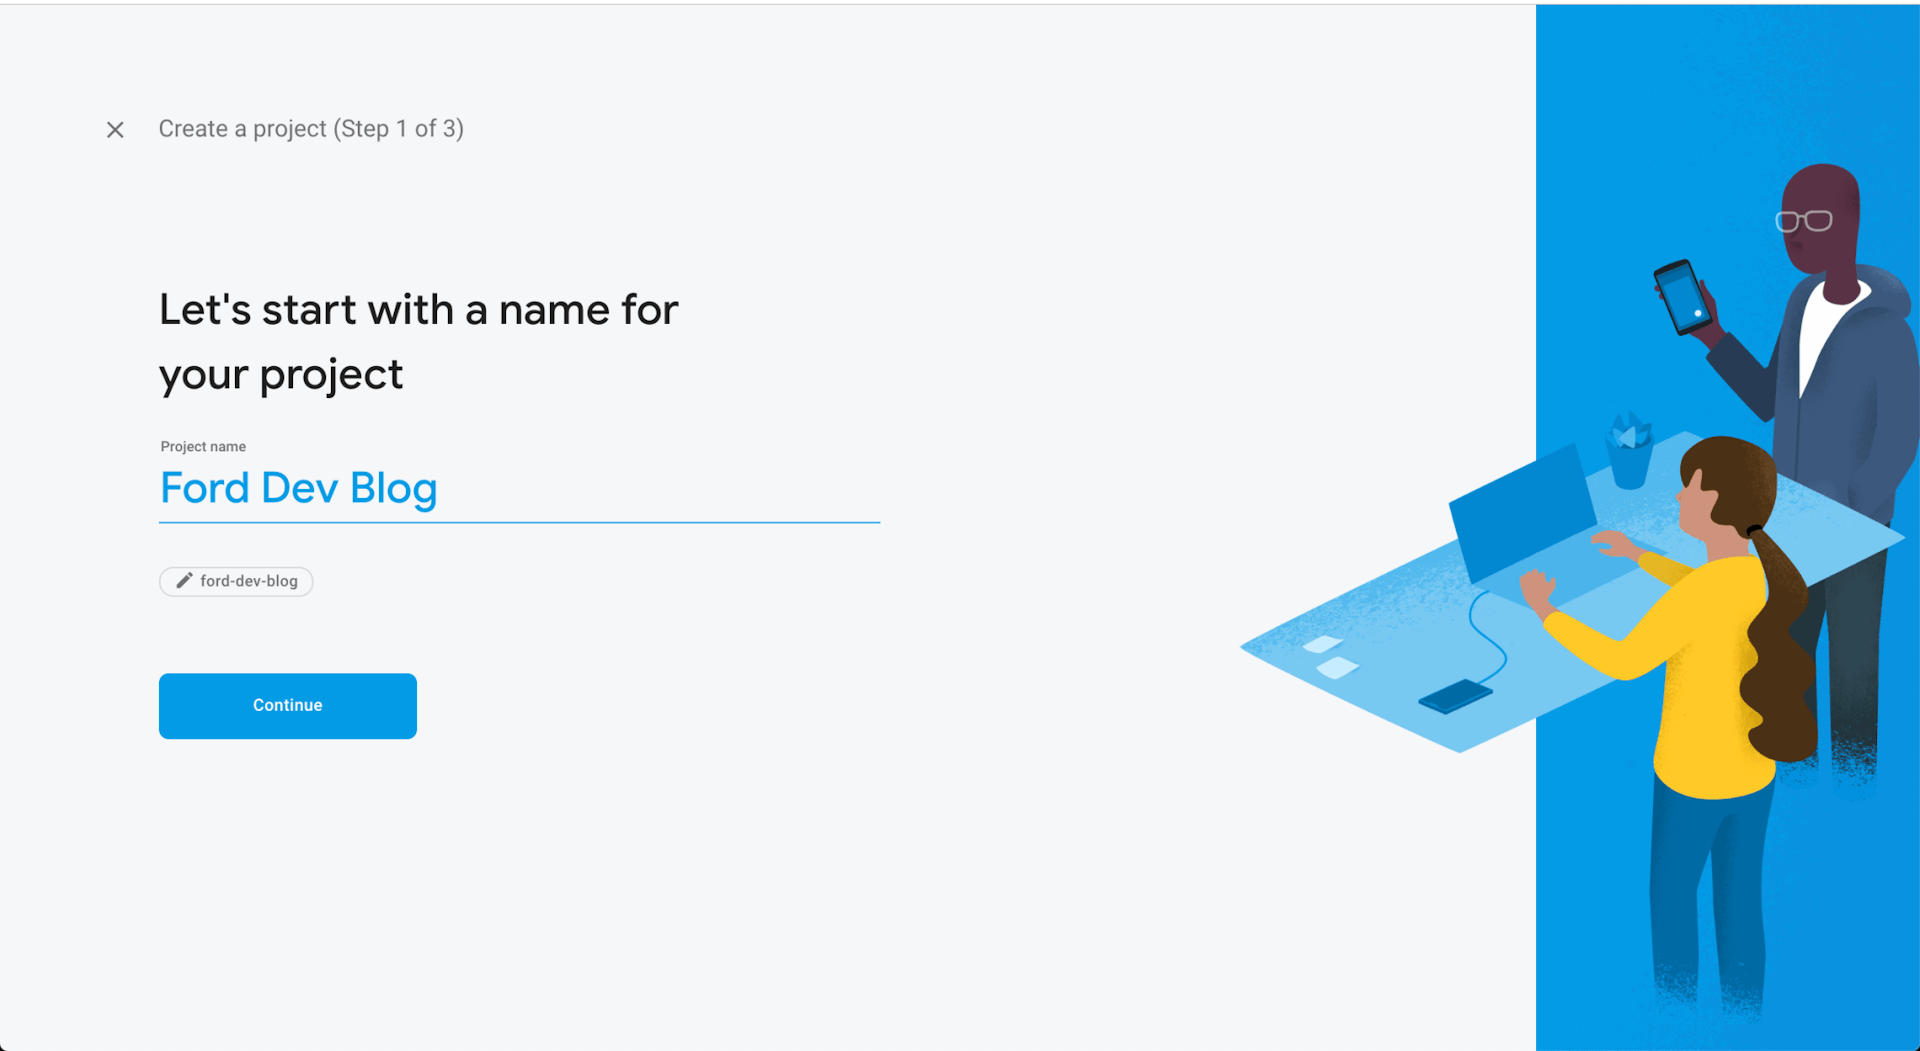
Go to https://firebase.google.com/ and click ‘Getting Started’. It will take you to the following screen:
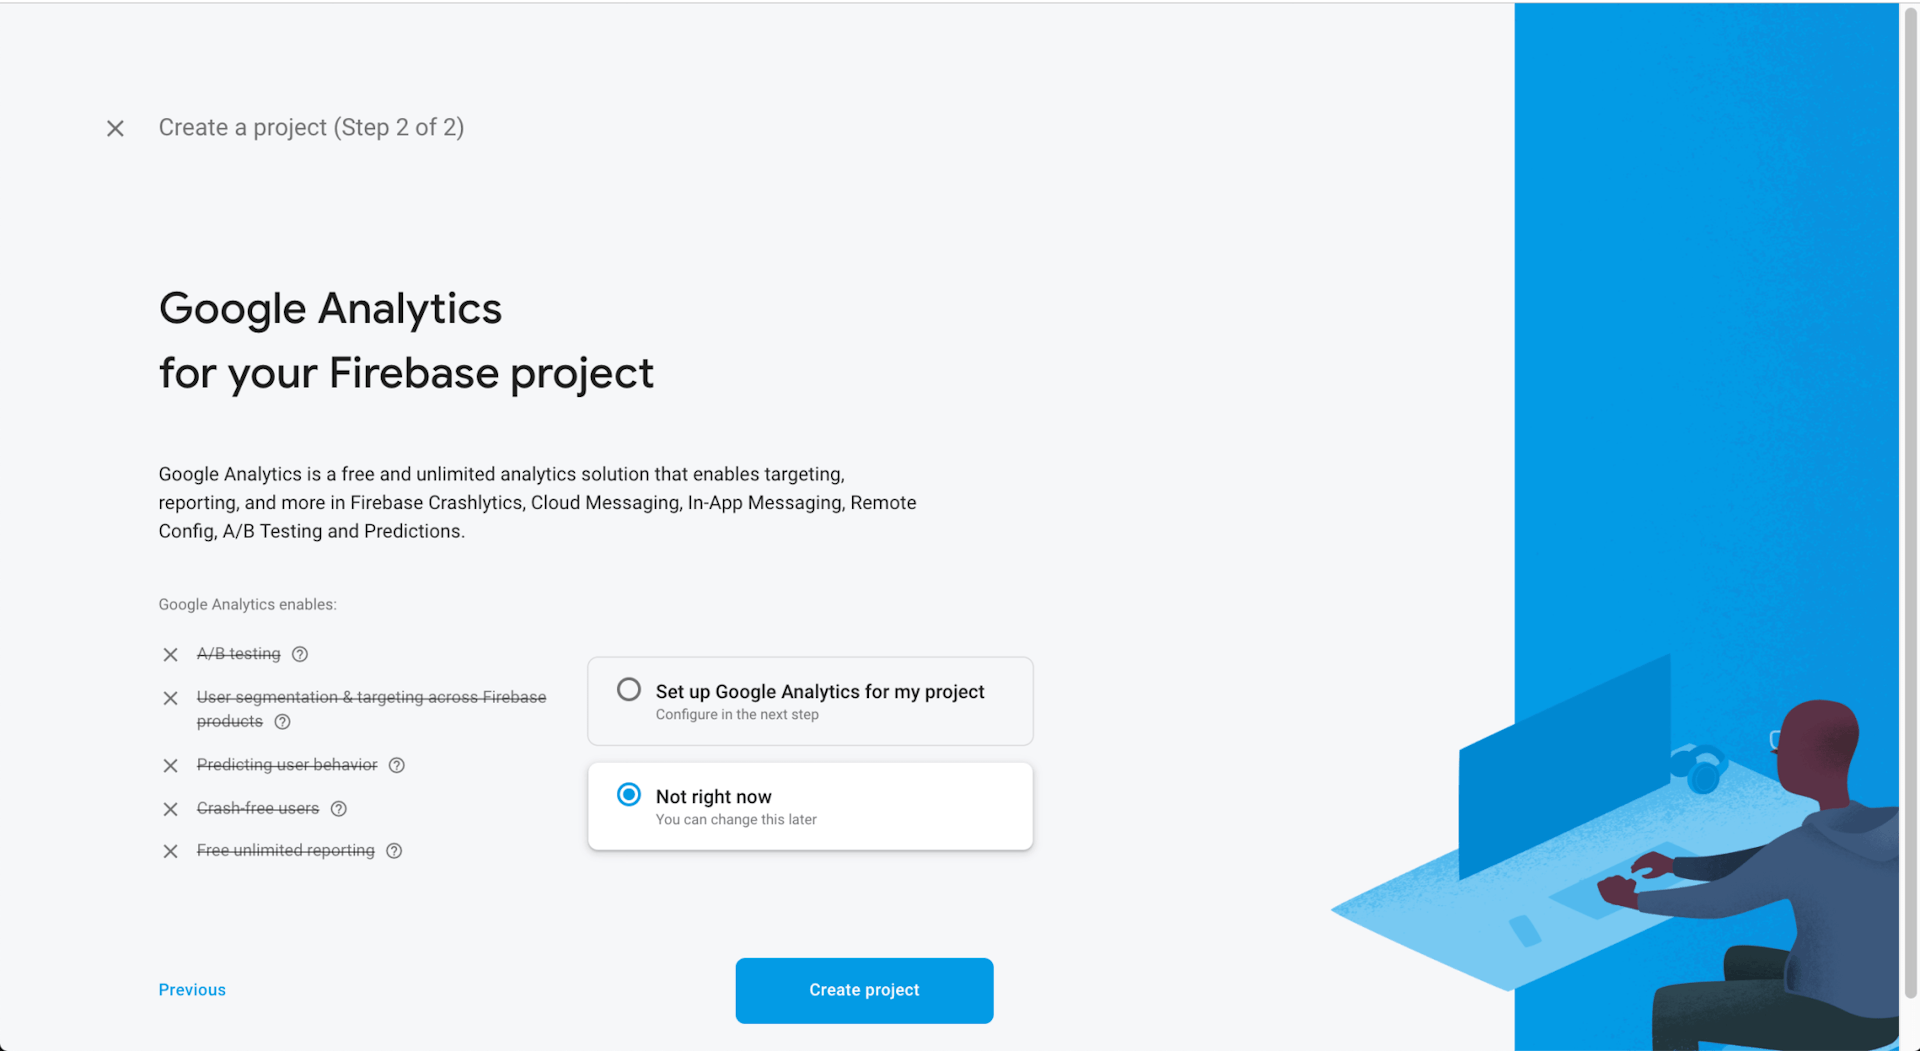
Step 2 will ask if you want to add Google Analytics 📈, you can skip this for now.
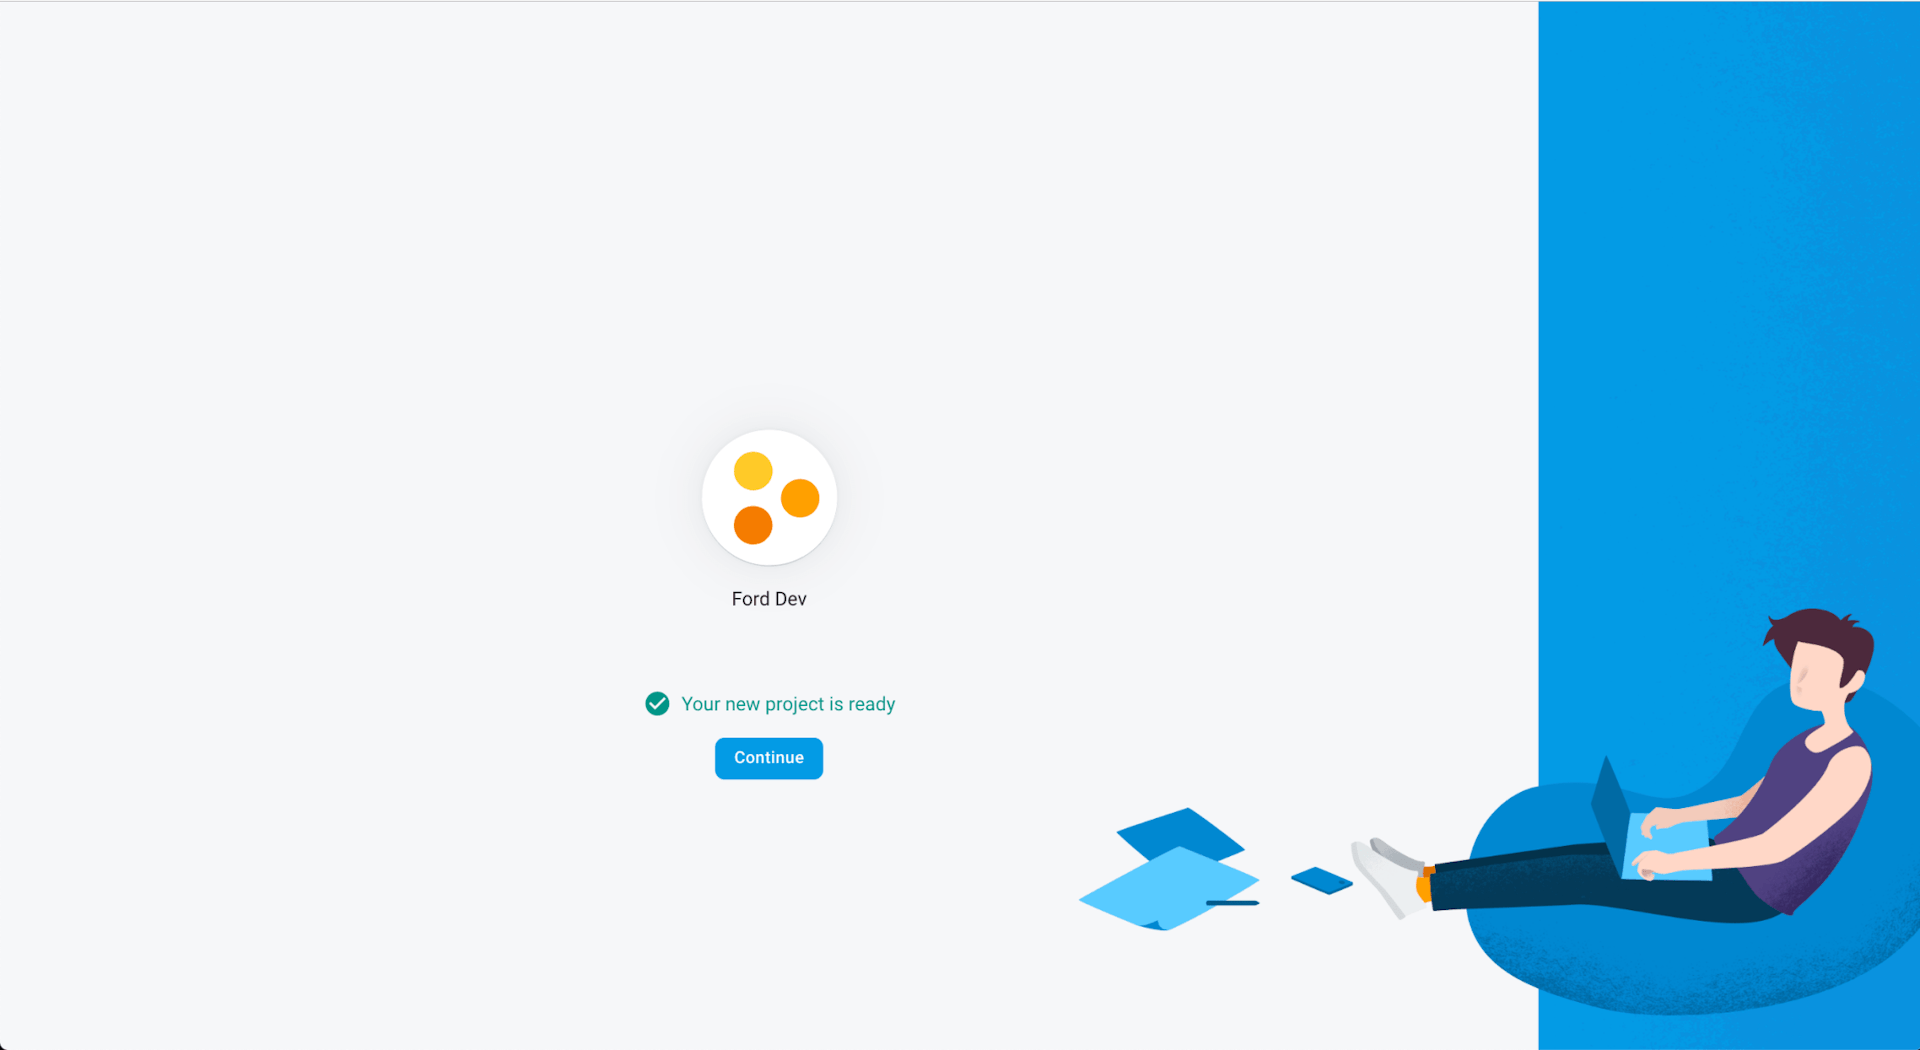
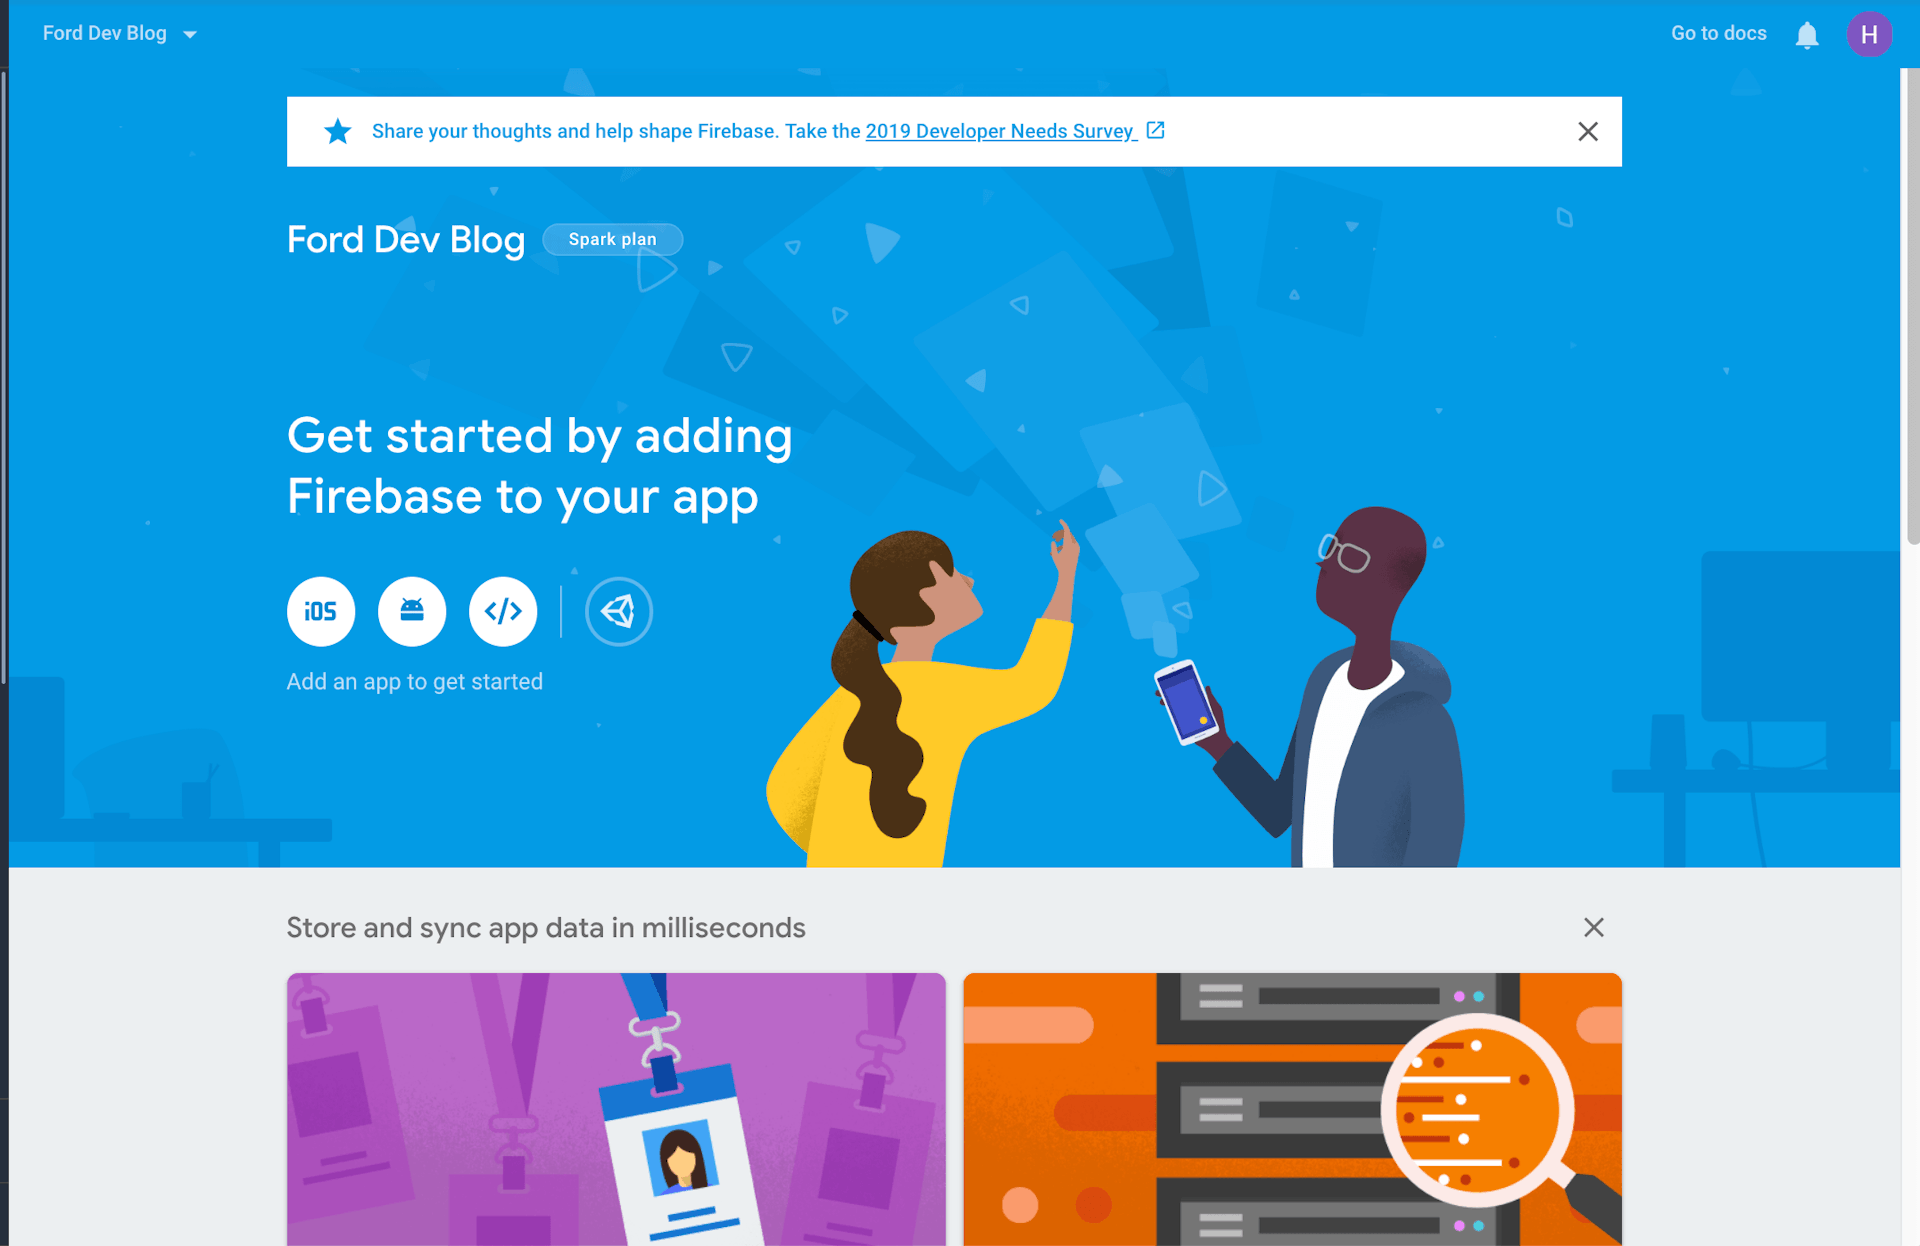
After we’ve created our project, we now need to set up our apps 🤳 (iOS & Android).
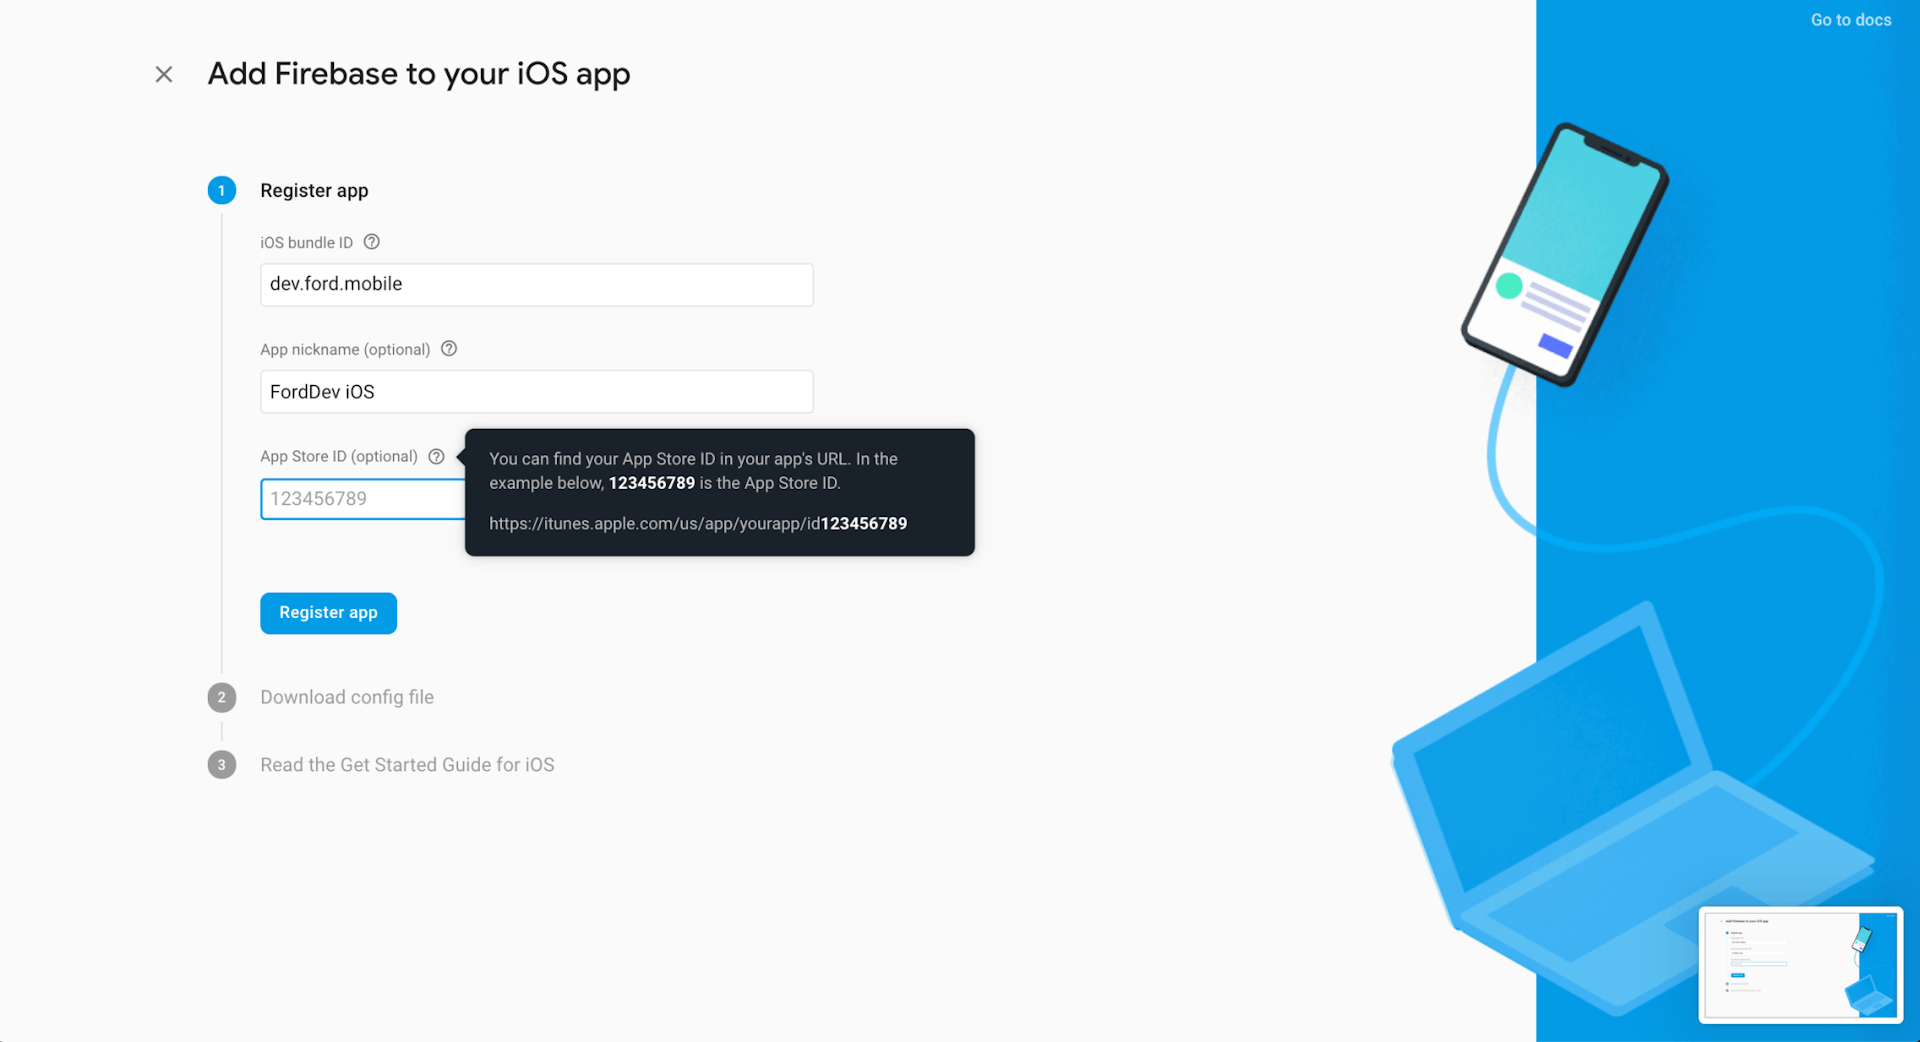
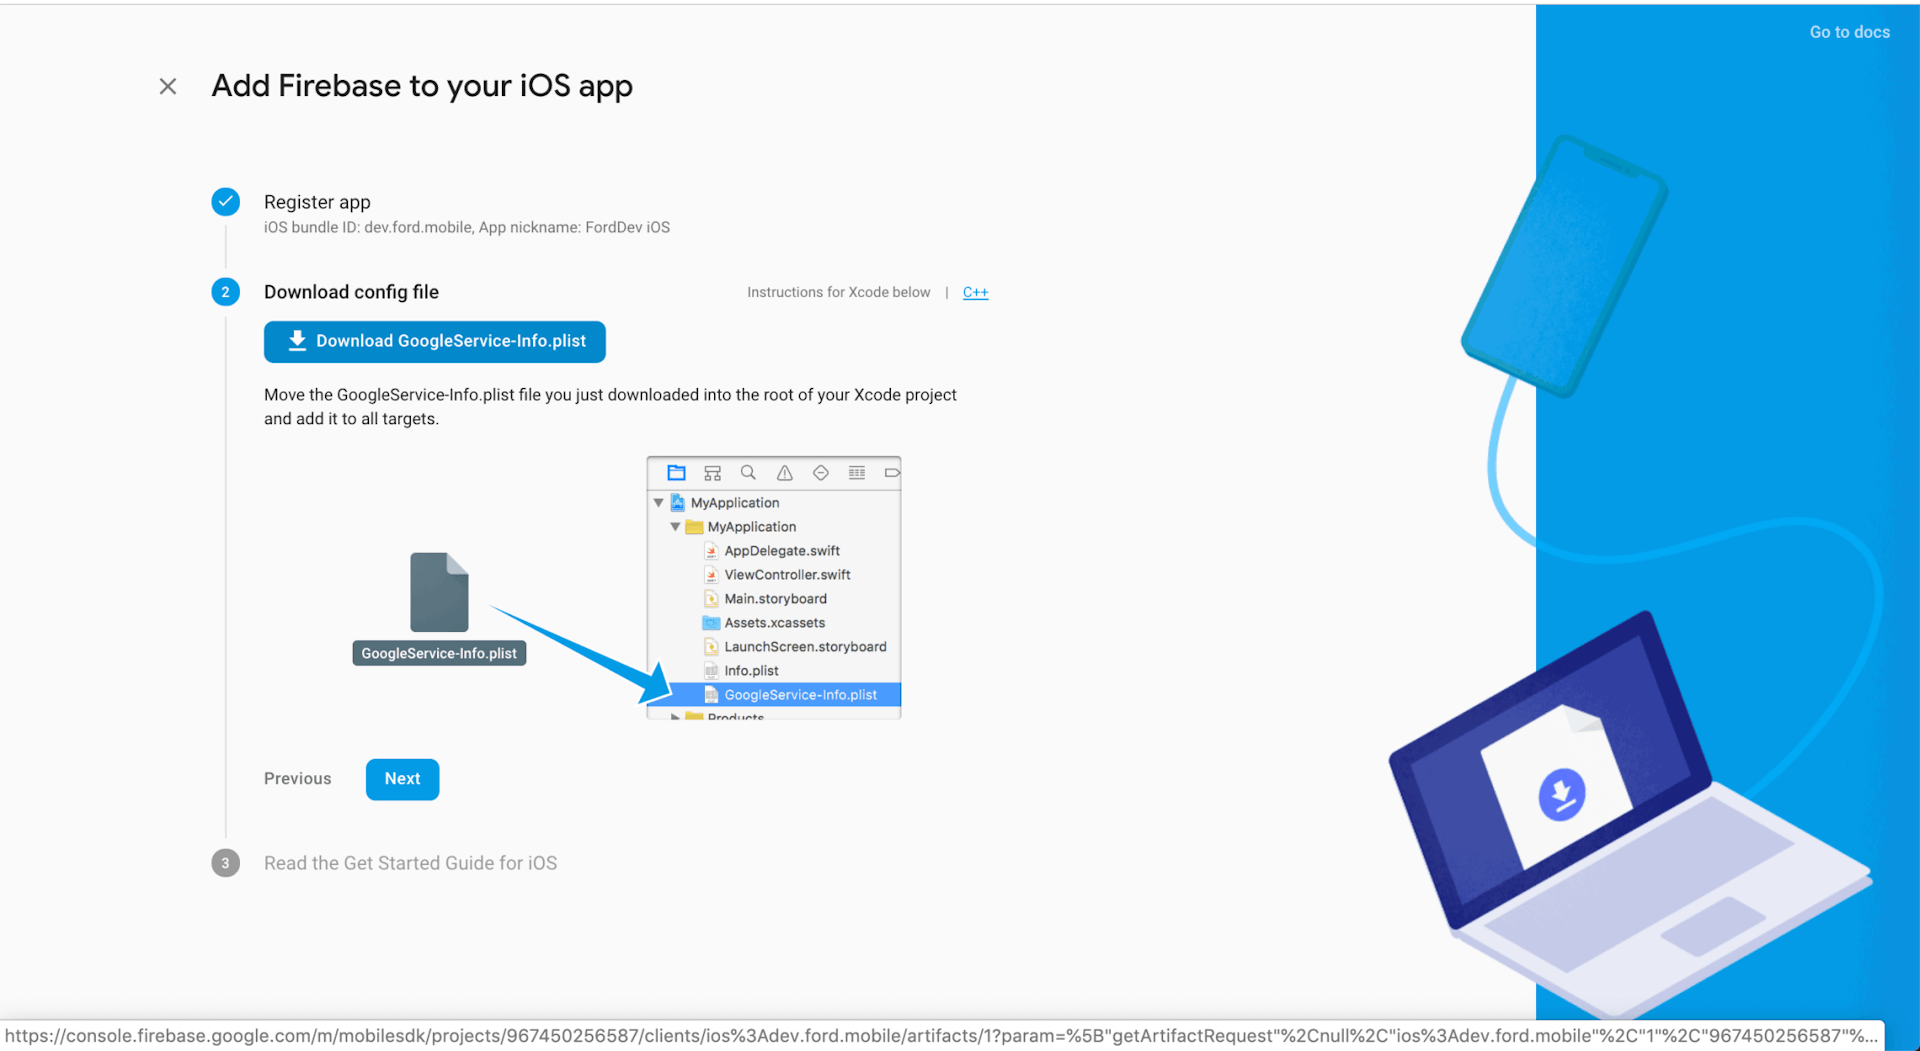
First iOS.
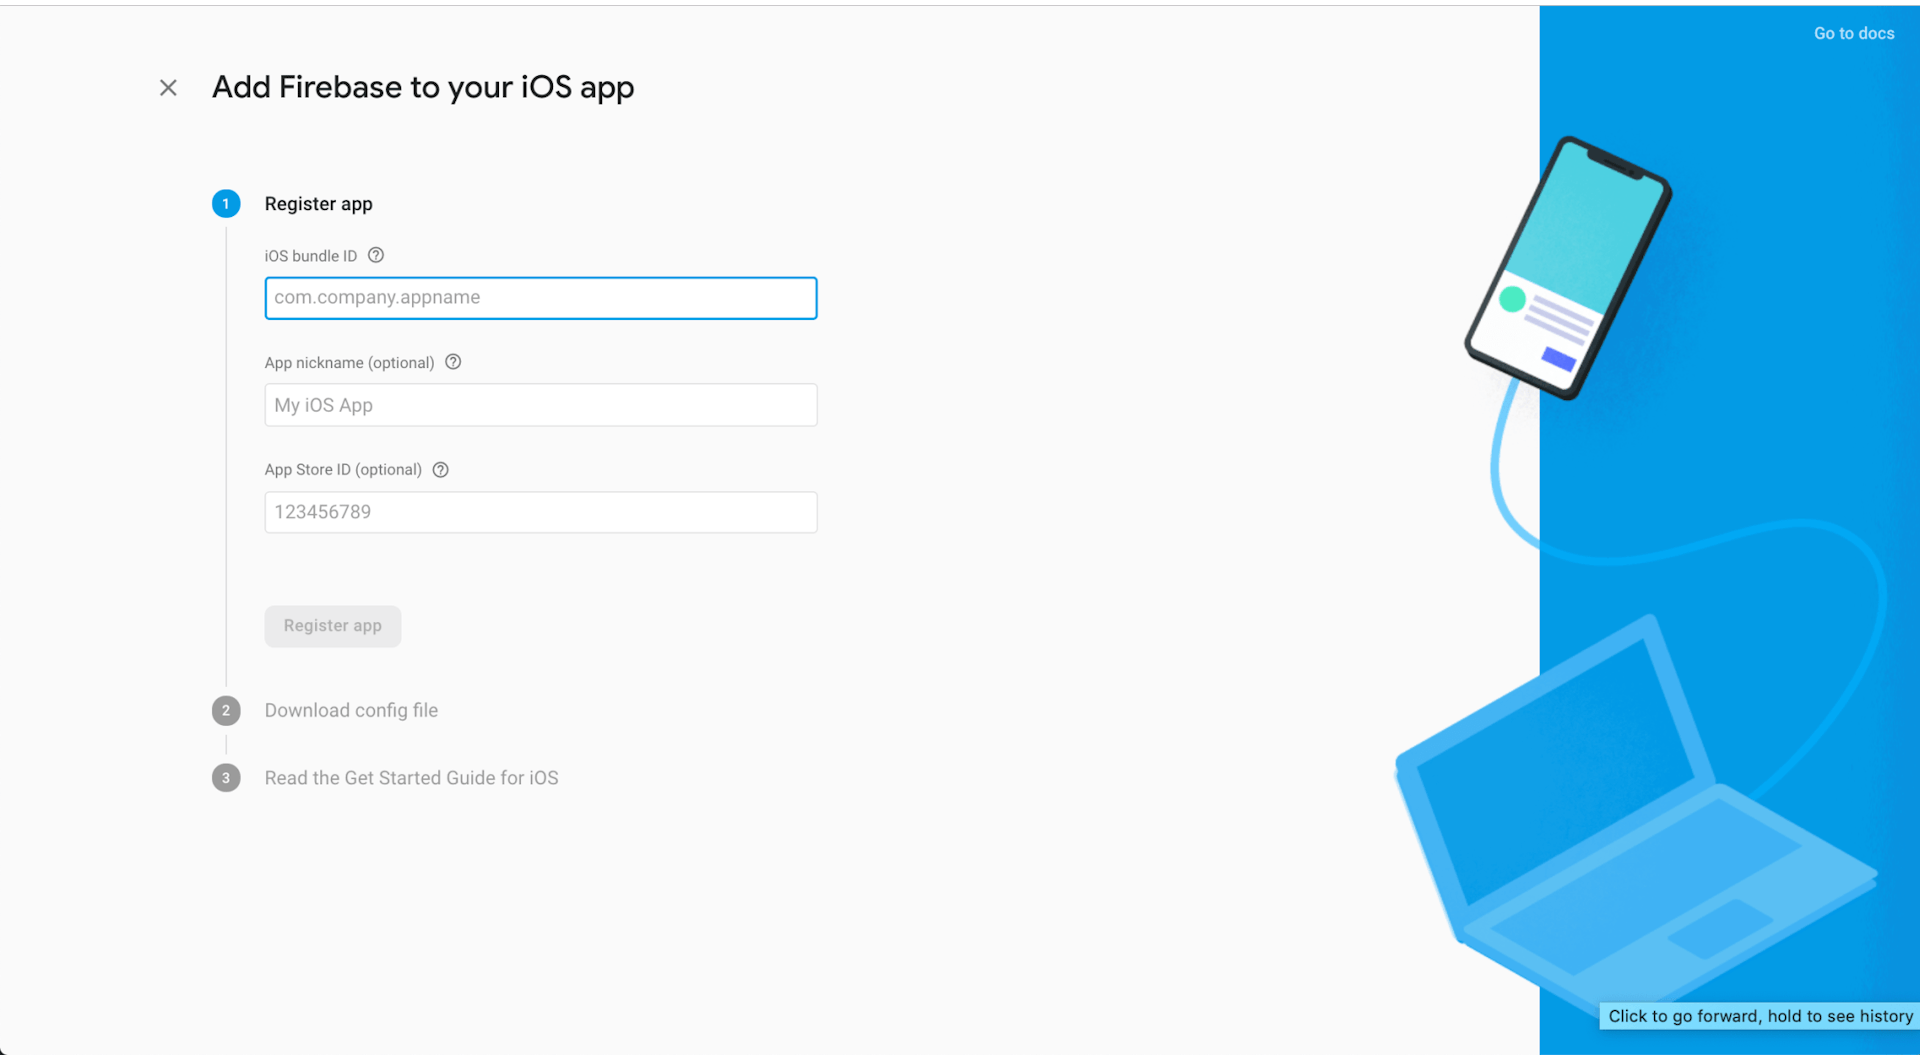
App Store ID is optional – seeing as my app isn’t on the app store, I skipped this.
And the same for Android.
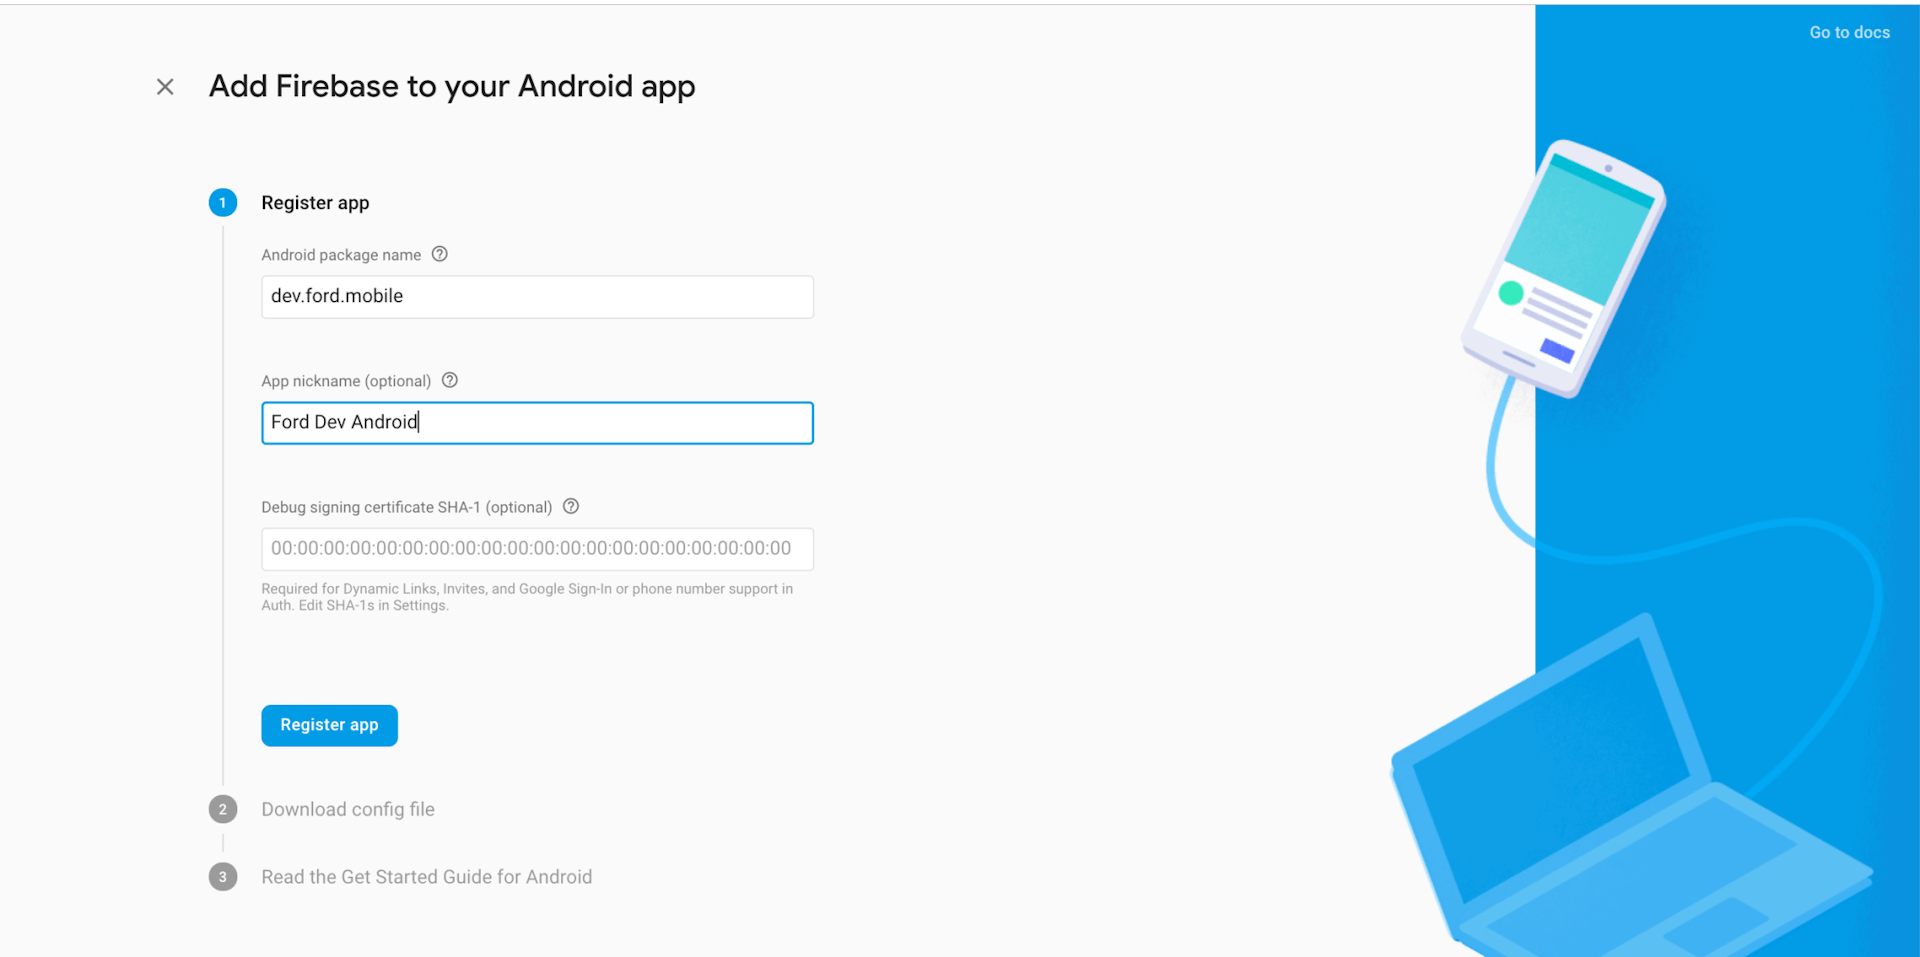
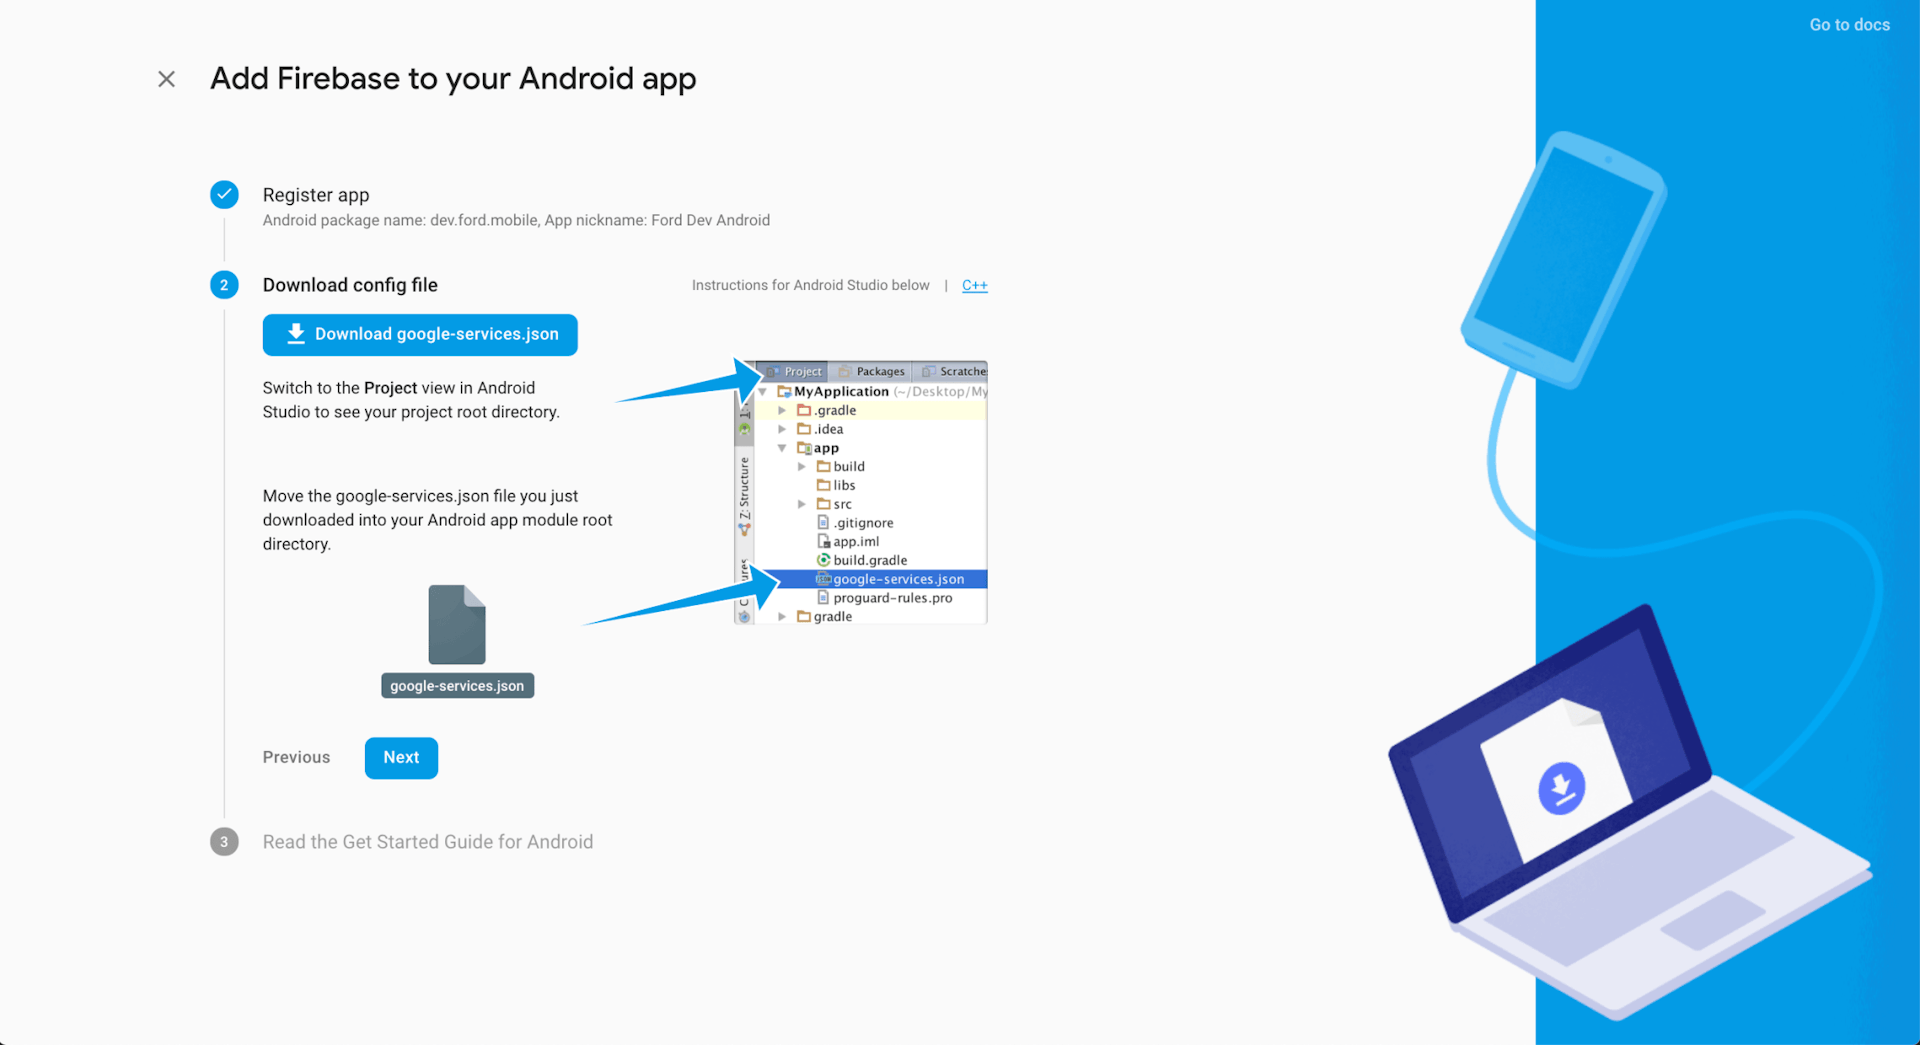
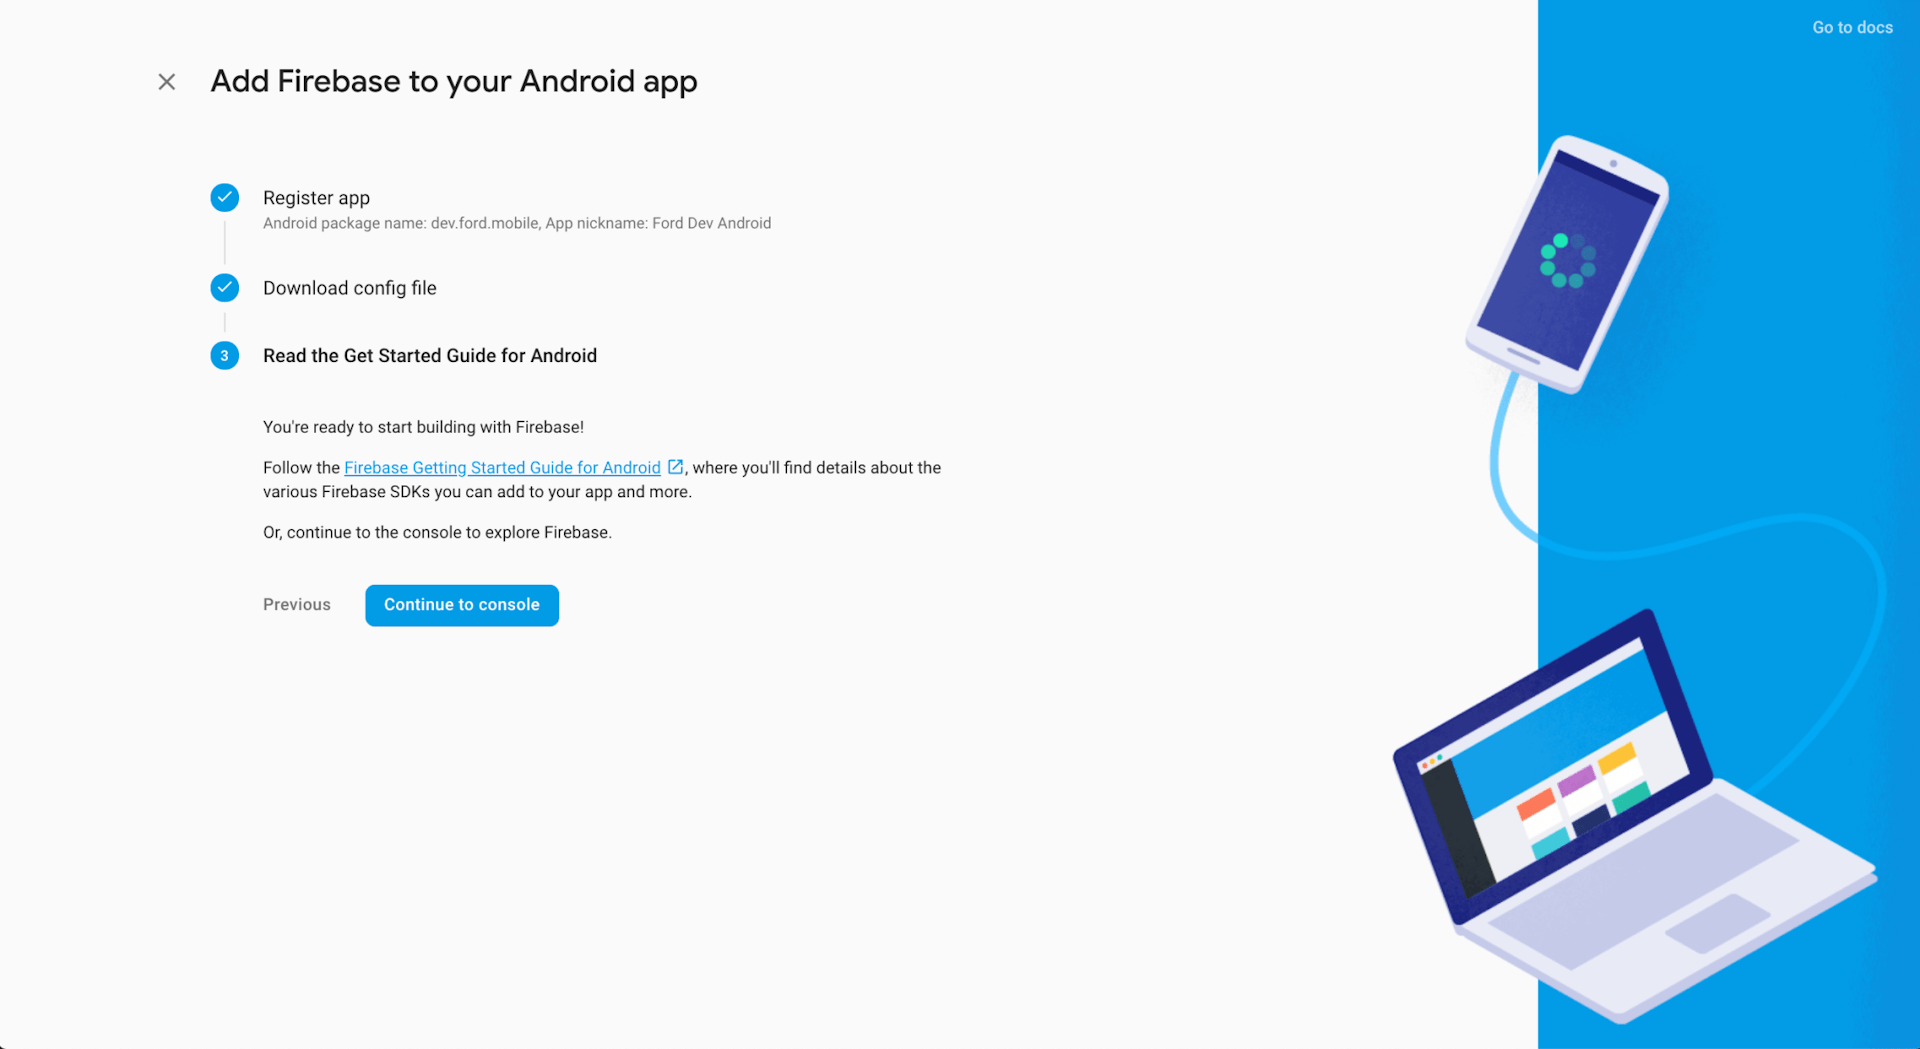
Additional Step for Android
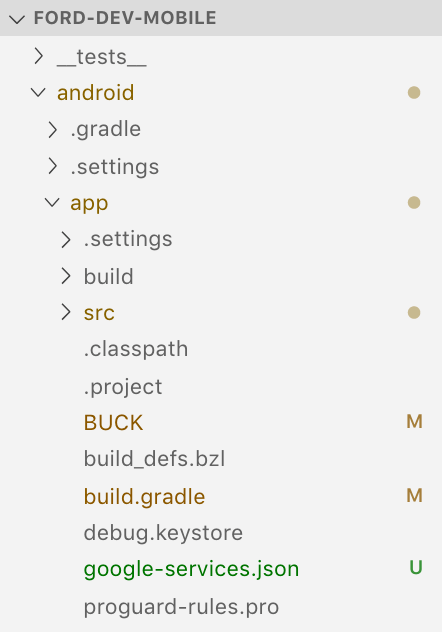
Add google-services.json to ./android/app
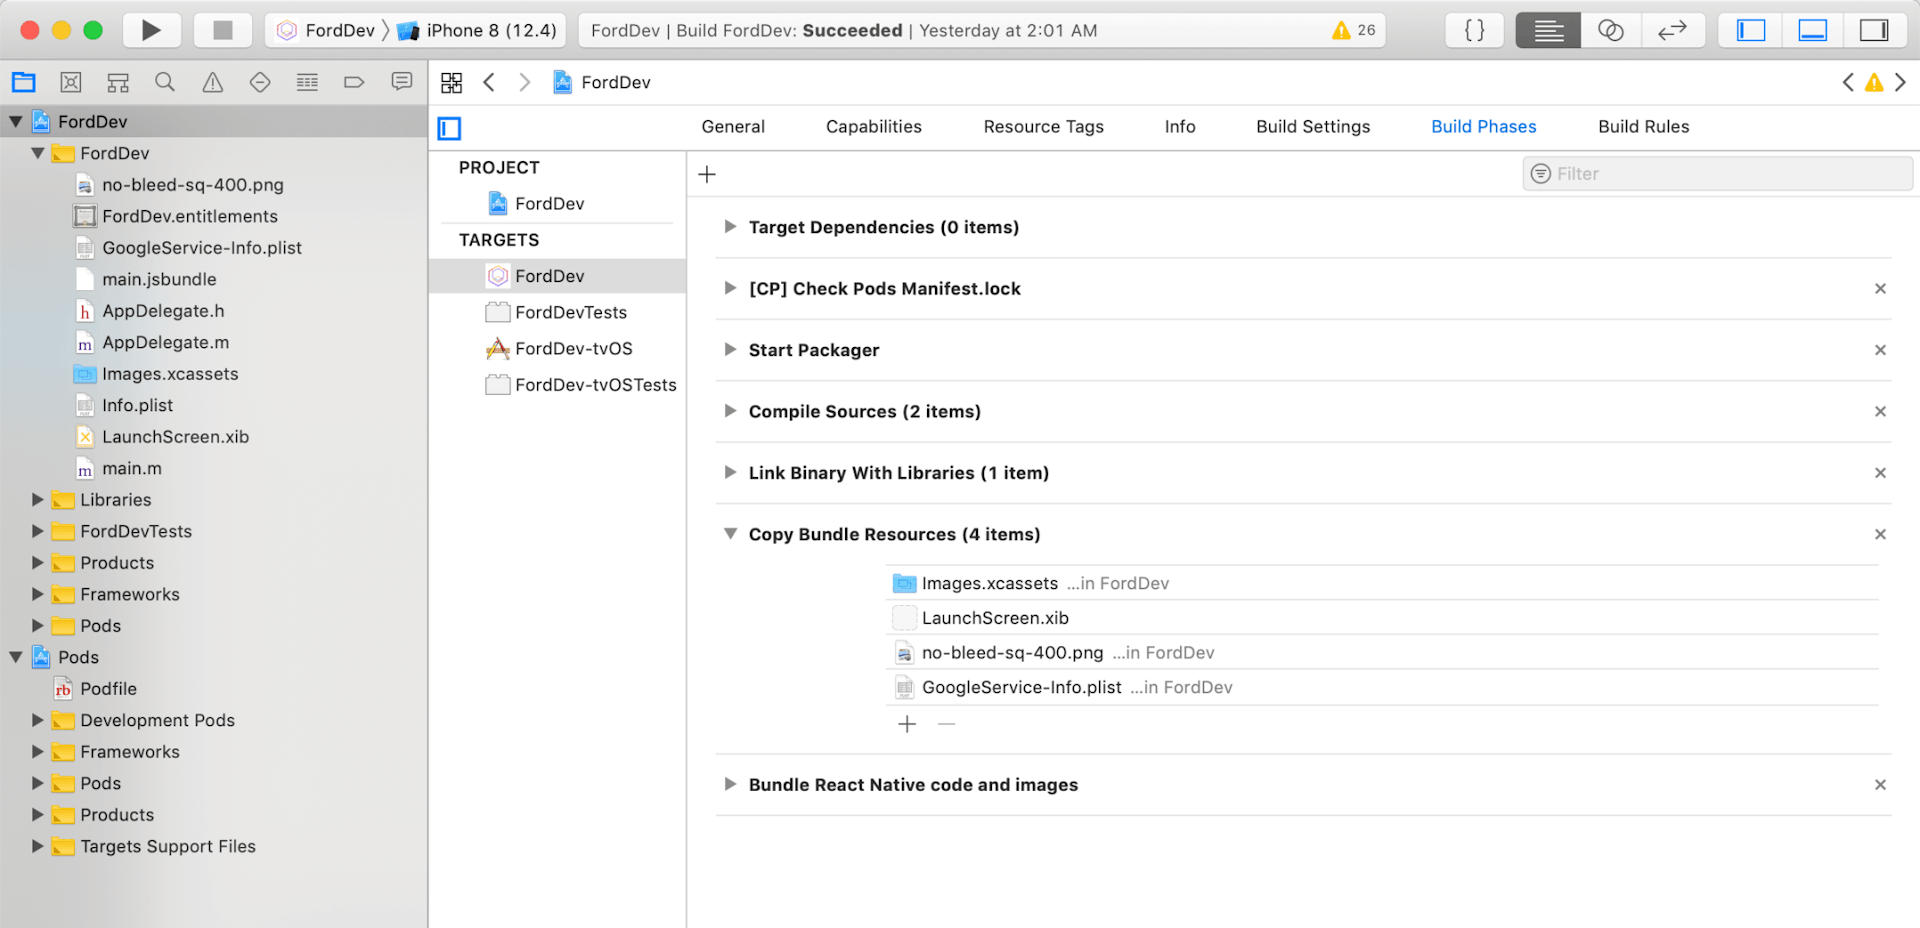
Additional Steps for iOS
- Add GoogleService-Info.plist to your project folder and then drag it to Copy Bundle Resources
- Turn on the following capabilities:


- Create a .p8 file if you haven’t already. You just need one for your apple developer account. Before you needed a .p12 certificate per app and per environment.
It’s recommended to use a .p8 and it makes things a lot simpler. Firebase has its own instructions, here’s mine in screenshots:
Head over to https://developer.apple.com/account/resources/authkeys/list
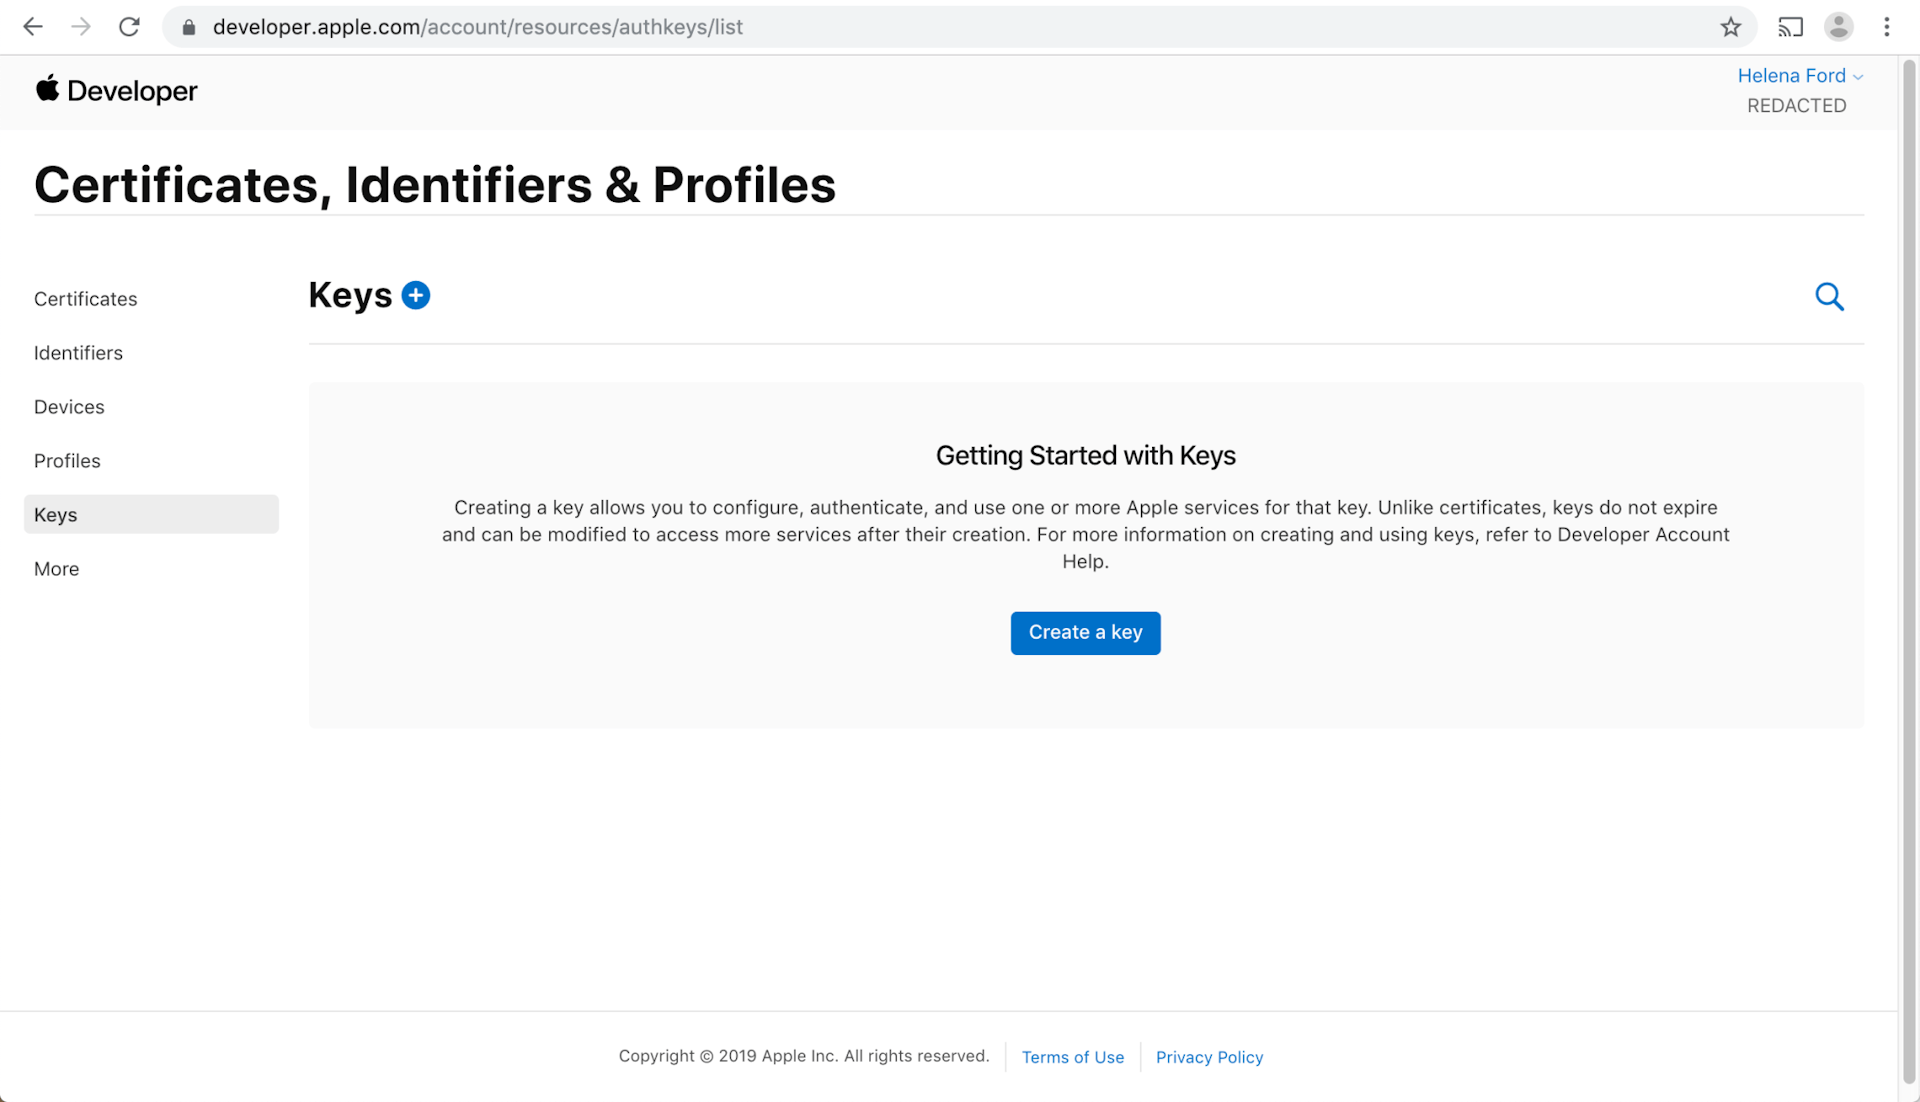
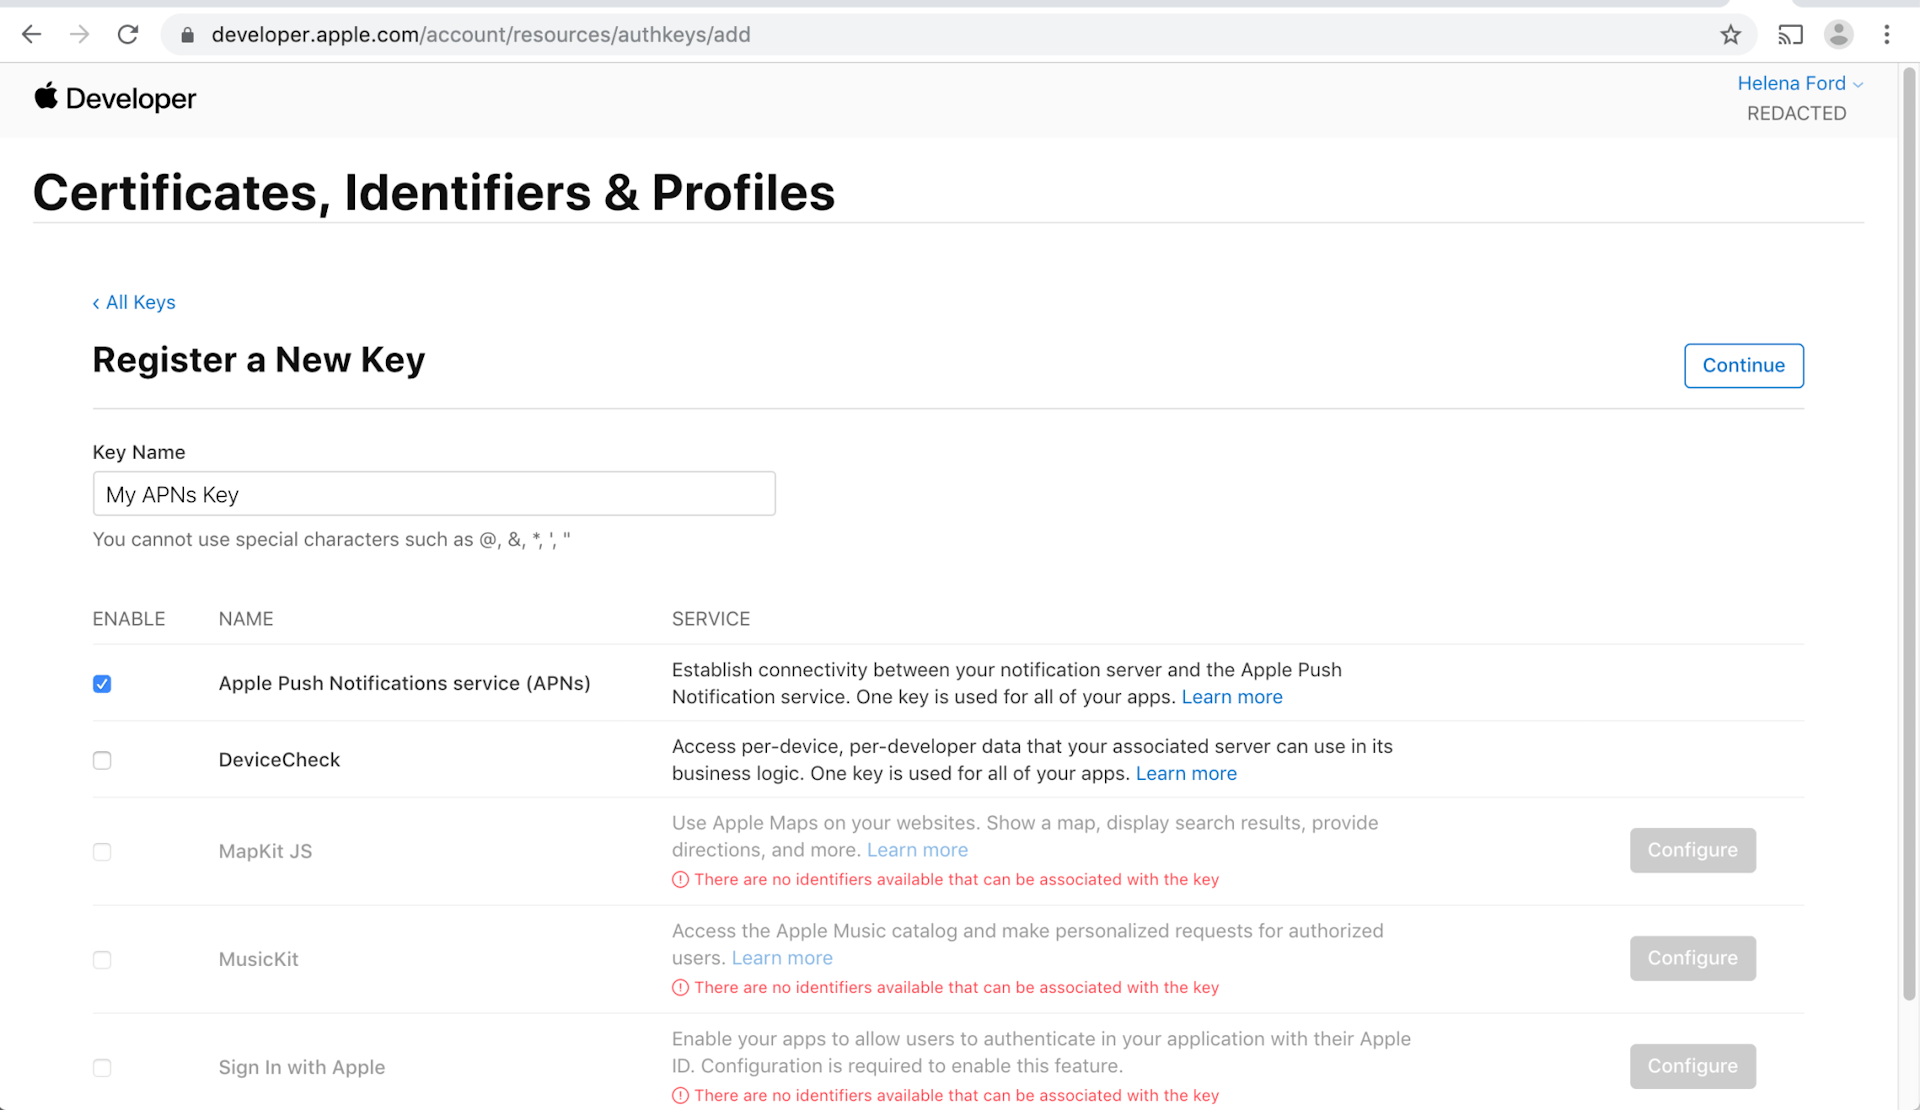
Enable Apple Push Notification Service (APNs) and enter a name. The Key name is to be used as a description, so you know what it’s used for.
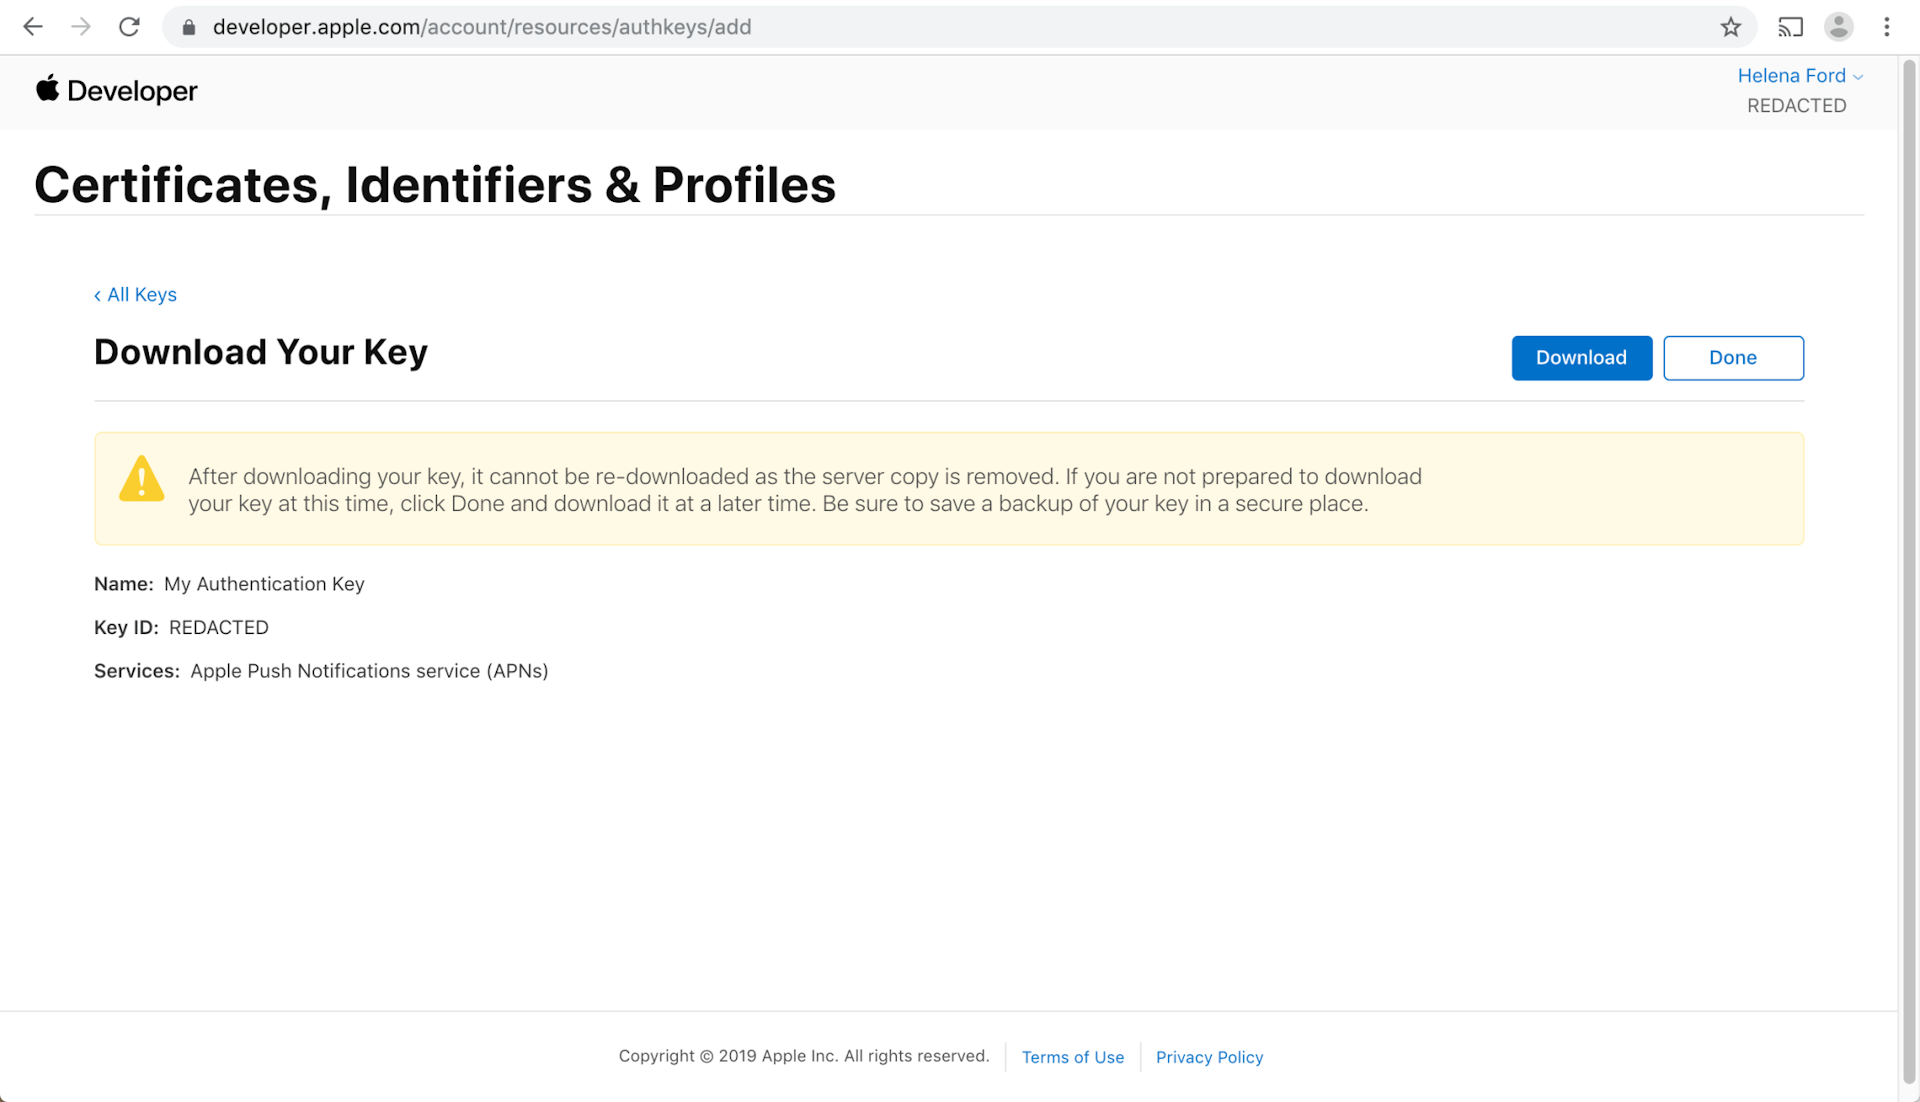
Keep the Key🔑safe, in a secure location. Keys cannot be downloaded again. However if you did lose it, you can create a new one but would have to update your firebase account.
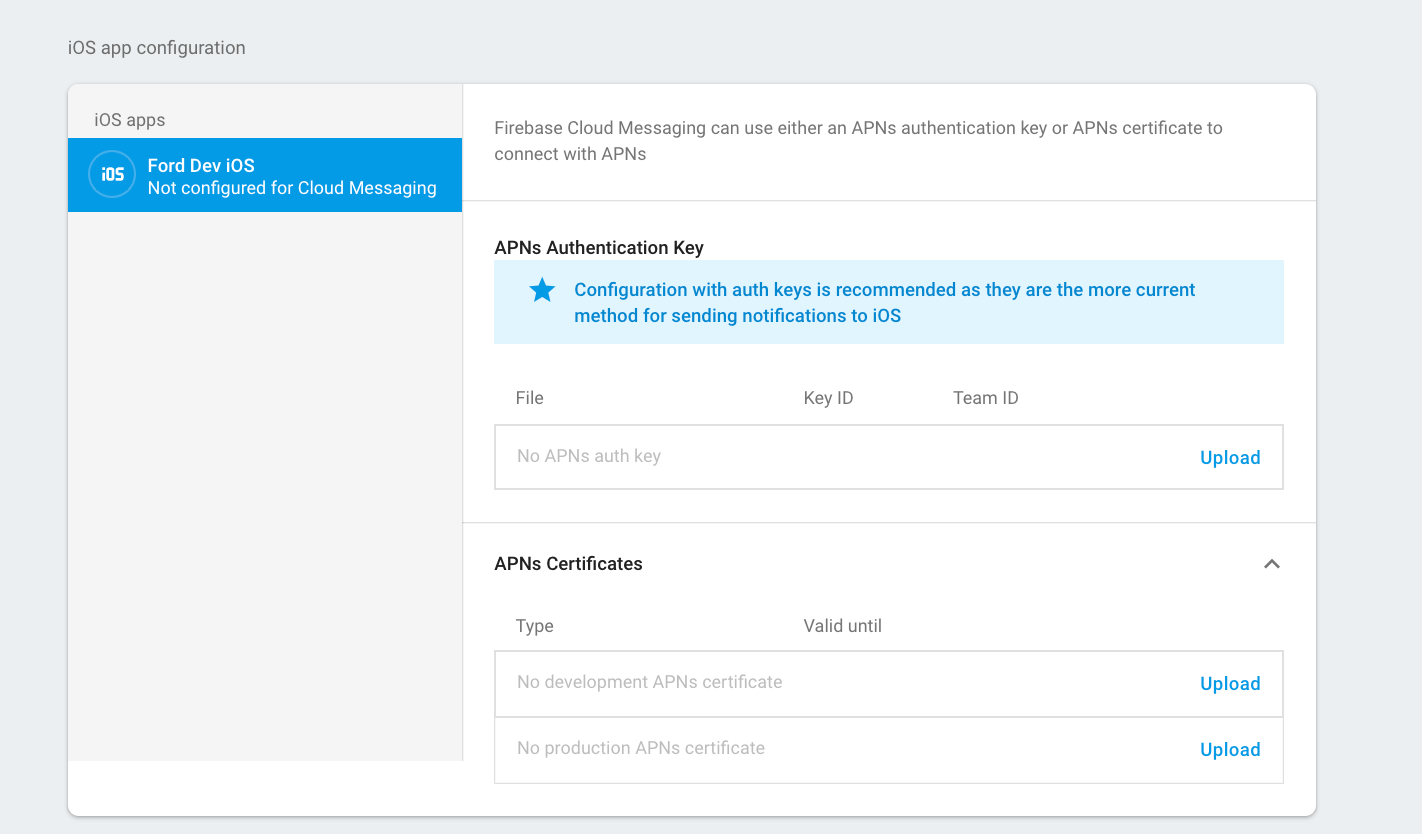
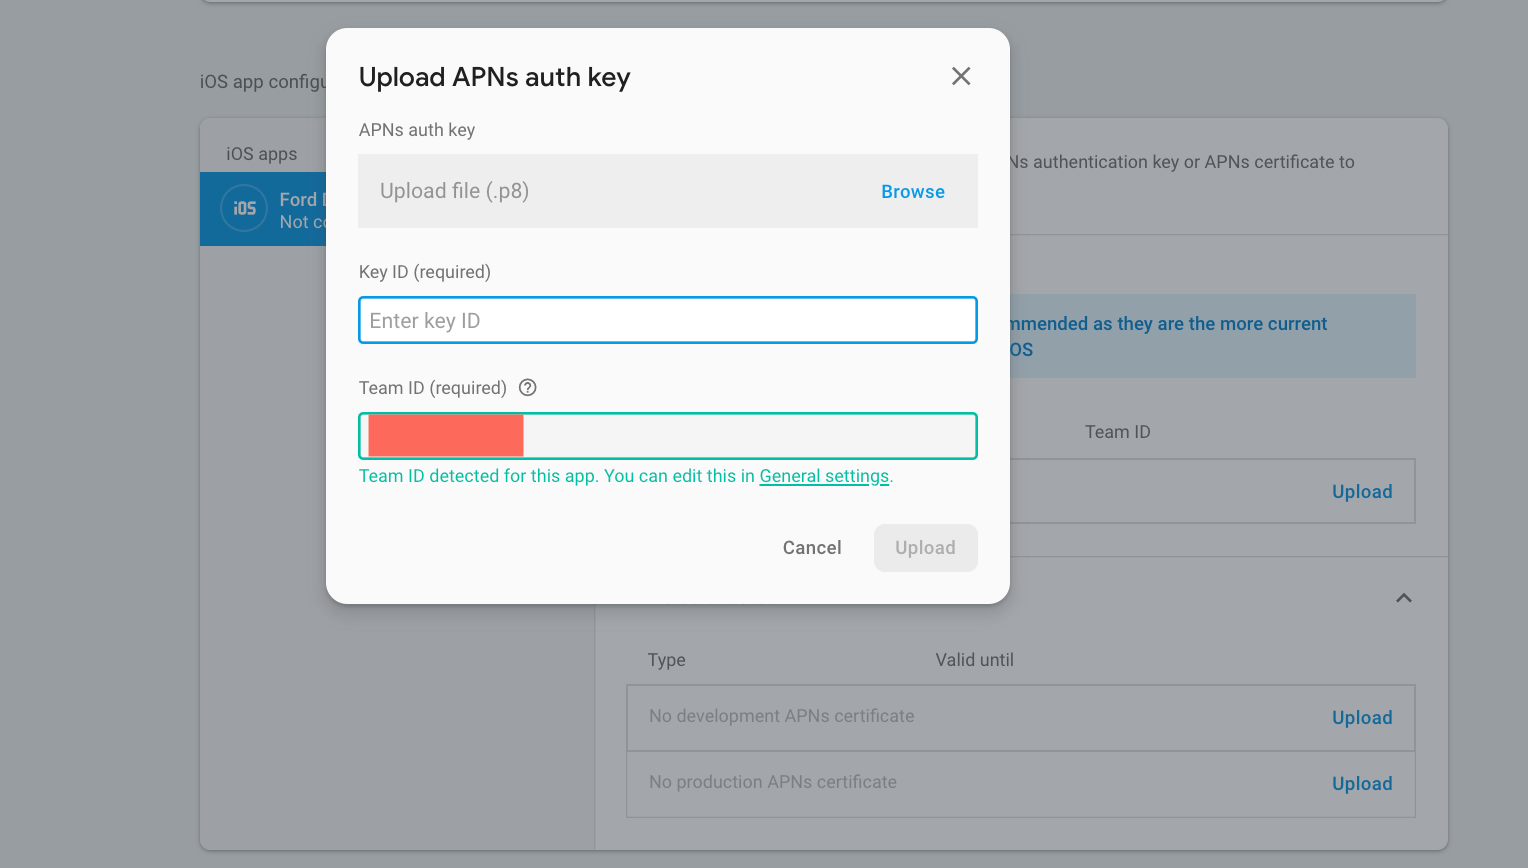
In your firebase project, go to Settings and select the Cloud Messaging tab. Scroll down to iOS app configurationand click upload under APNs Authentication Key.
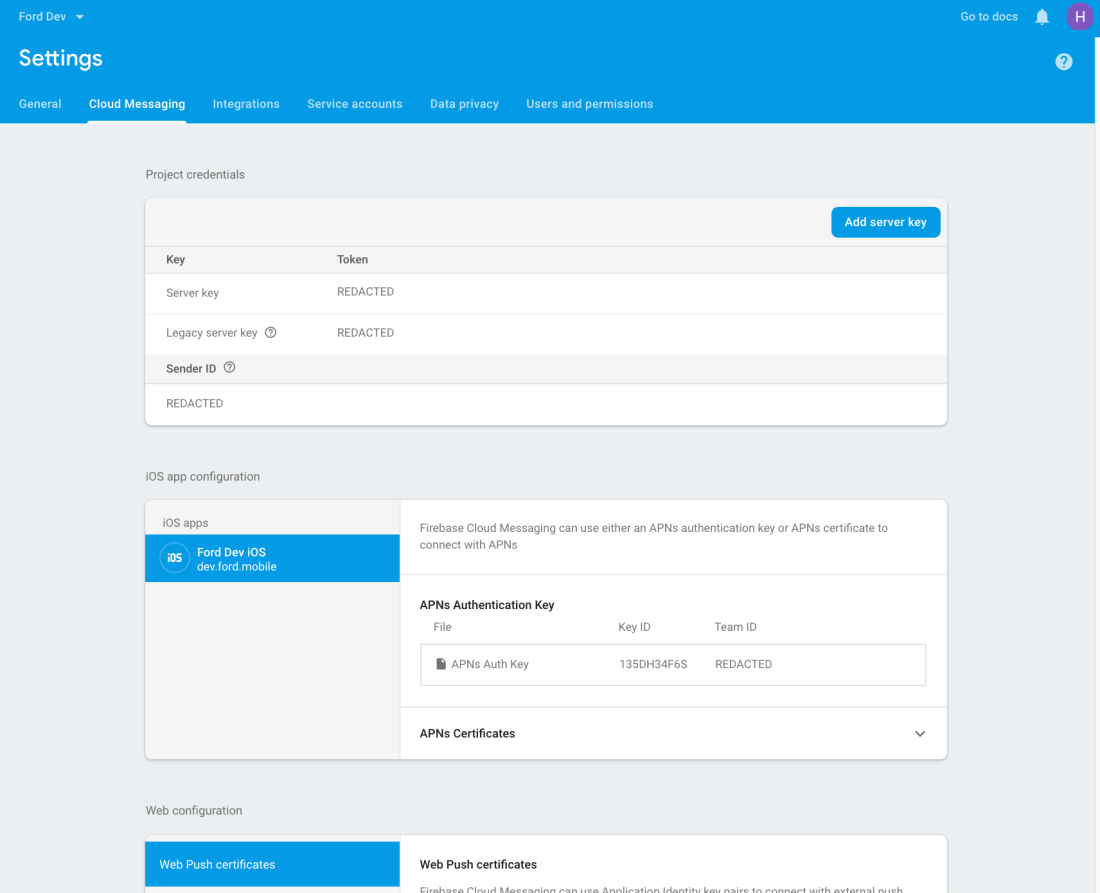
You should see it listed now. For this tutorial, I’ve displayed the Key ID so you can see what it looks like. This is not an active key just for demonstration, keep your keys private.
Update your .gitignore to ignore firebase keys.
The Code 👩💻
Let’s digest it a little:
In ComponentDidMount, we create a channel for android, this is a requirement. Next, we check the user’s permissions and if permissions are enabled, we create a token. This token can be used to send push notifications with, it is unique per device and can be refreshed. And, finally, we create a notification listener, onNotification to listen for incoming notifications.
In componentWillUnmount, remove the notification listener. if you print out this.onUnsubscribeNotificaitonListener() you can see this function calls removeListener.

Side note ✍️, you’ll probably notice the library we are using has a Messaging Module and a Notification Module and may be wondering what’s the difference. Well, according to the documentation, the messaging module is for data-only messages whereas notifications modules handle both types (more detail on notification types in part 2).

Test 🧪
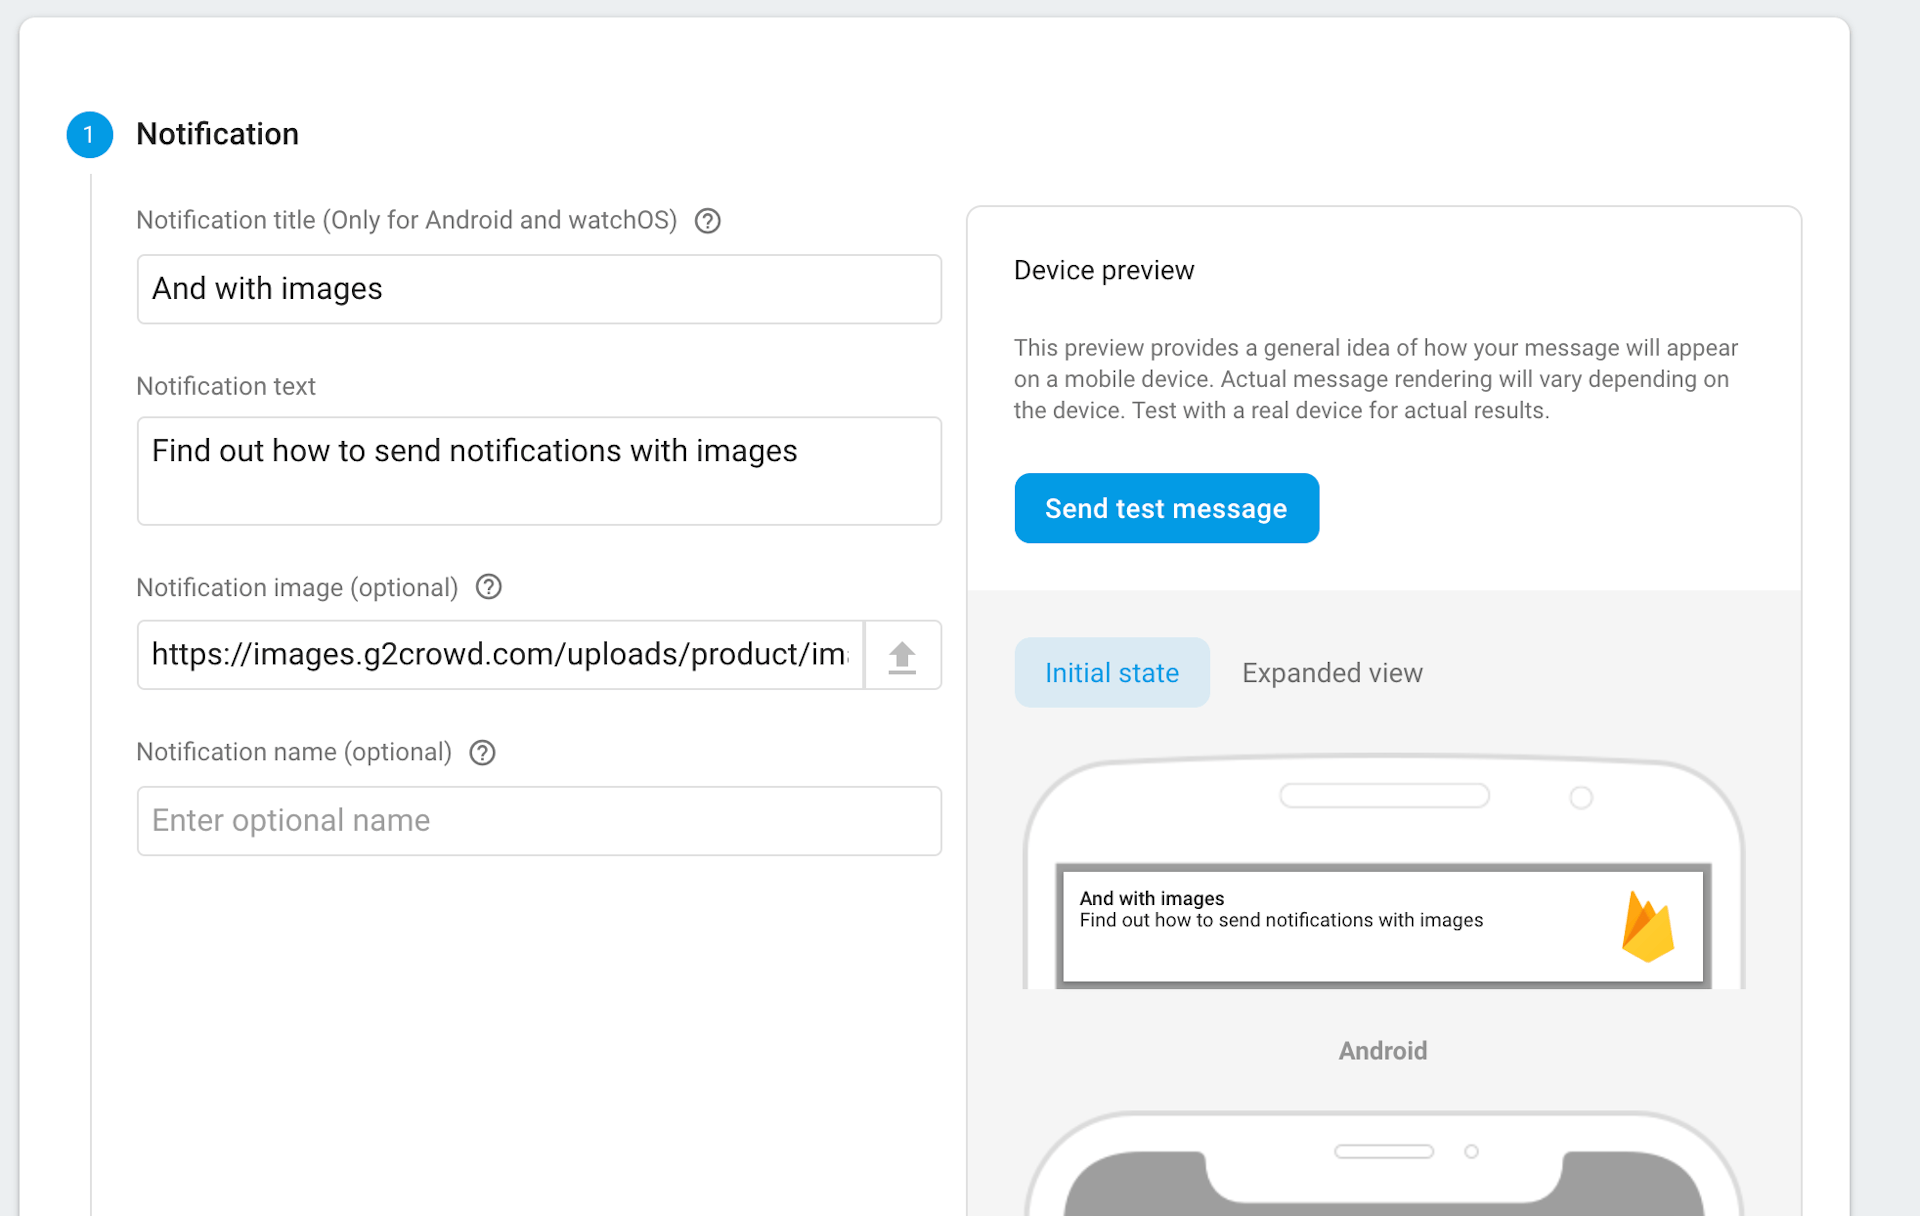
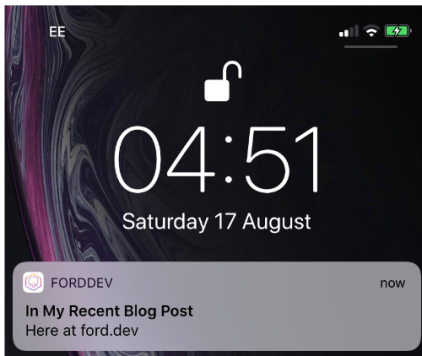
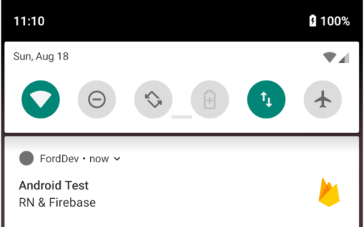
Let’s check that our apps work by sending test notification. There are loads of ways to do this, but for convenience and no additional work, we will use the Firebase Console.

In the top right corner, click the New notification button. I really like this feature, and I’ve noticed they recently added a preview on the right-hand side which is awesome 👌. You should see the notification within seconds if everything is working. If not, double-check your settings, keys in firebase and that you’re registering the FCM token on the device. If none of that works, check out this guide on debugging firebase notifications for iOS. I haven’t come across a good one for Android, if you know of some let me know.
Some Useful Resources 🔖
Documentation for Notifications v5+ https://rnfirebase.io/docs/v5.x.x/notifications/introduction
Firebase Console https://console.firebase.google.com
Upgrading React Native to 0.60+, check out this out how to integrate RNFirebase: https://medium.com/@katharinep/firebase-notification-integration-in-react-native-0-60-3a8d6c8d56ff
A well-written guide which has great tips. https://medium.com/@anum.amin/react-native-integrating-push-notifications-using-fcm-349fff071591
An example project on how to integrate RNFirebase into your app https://github.com/evollu/react-native-fcm
For the code, check out the repo that I’ll be adding to after each blog post.
That’s all
If you made it to the end of part 1, congrats! 👏 You now have an end-to-end solution of sending and receiving notifications on your device ⚡.
In part 2, we’ll go into more detail about notification types and how to use them. And, how to manage them when your app is in the foreground, background or closed completely.
Hope you enjoyed this tutorial on implementing push notifications with React Native v0.60+ and RNFirebase v5.5.5+ 🙏. If you found it helpful, please give this a like or share 💜. If you have any questions 🙋don’t hesitate to ask either in the comments, on my socials or by email 📧 helena@ford.dev.
